
How to start a channel-letter sign business with Ascent Equipment
A practical guide to choosing equipment, planning workflow, controlling labor — and what it actually costs to get started.
A sign business can start smaller than you think
Many people imagine that opening a channel-letter shop requires a huge building, a large crew and every machine on day one. It does not. A good shop starts with a clear market, a dependable production flow, and equipment that lets a small team produce professional work consistently.
Channel letters are a strong place to begin because demand comes from local businesses, sign installers, designers, general contractors, and national retail programs. The work is highly visible, custom by nature, and difficult to replace with a commodity product. The opportunity is not simply to make letters; it is to become the dependable production partner who answers the phone, checks the artwork, and delivers when promised.
The smartest approach is to build a core production cell first, identify your actual bottlenecks, and expand from there. Ascent Equipment can support that path with channel-letter bending machines, staplers, laser-welding systems and related production equipment, along with installation, on-site training and ongoing technical support.
The essential channel-letter equipment package
A practical starter shop needs a way to cut faces and backs, form returns, and assemble the finished letters. The following equipment creates that basic production chain.
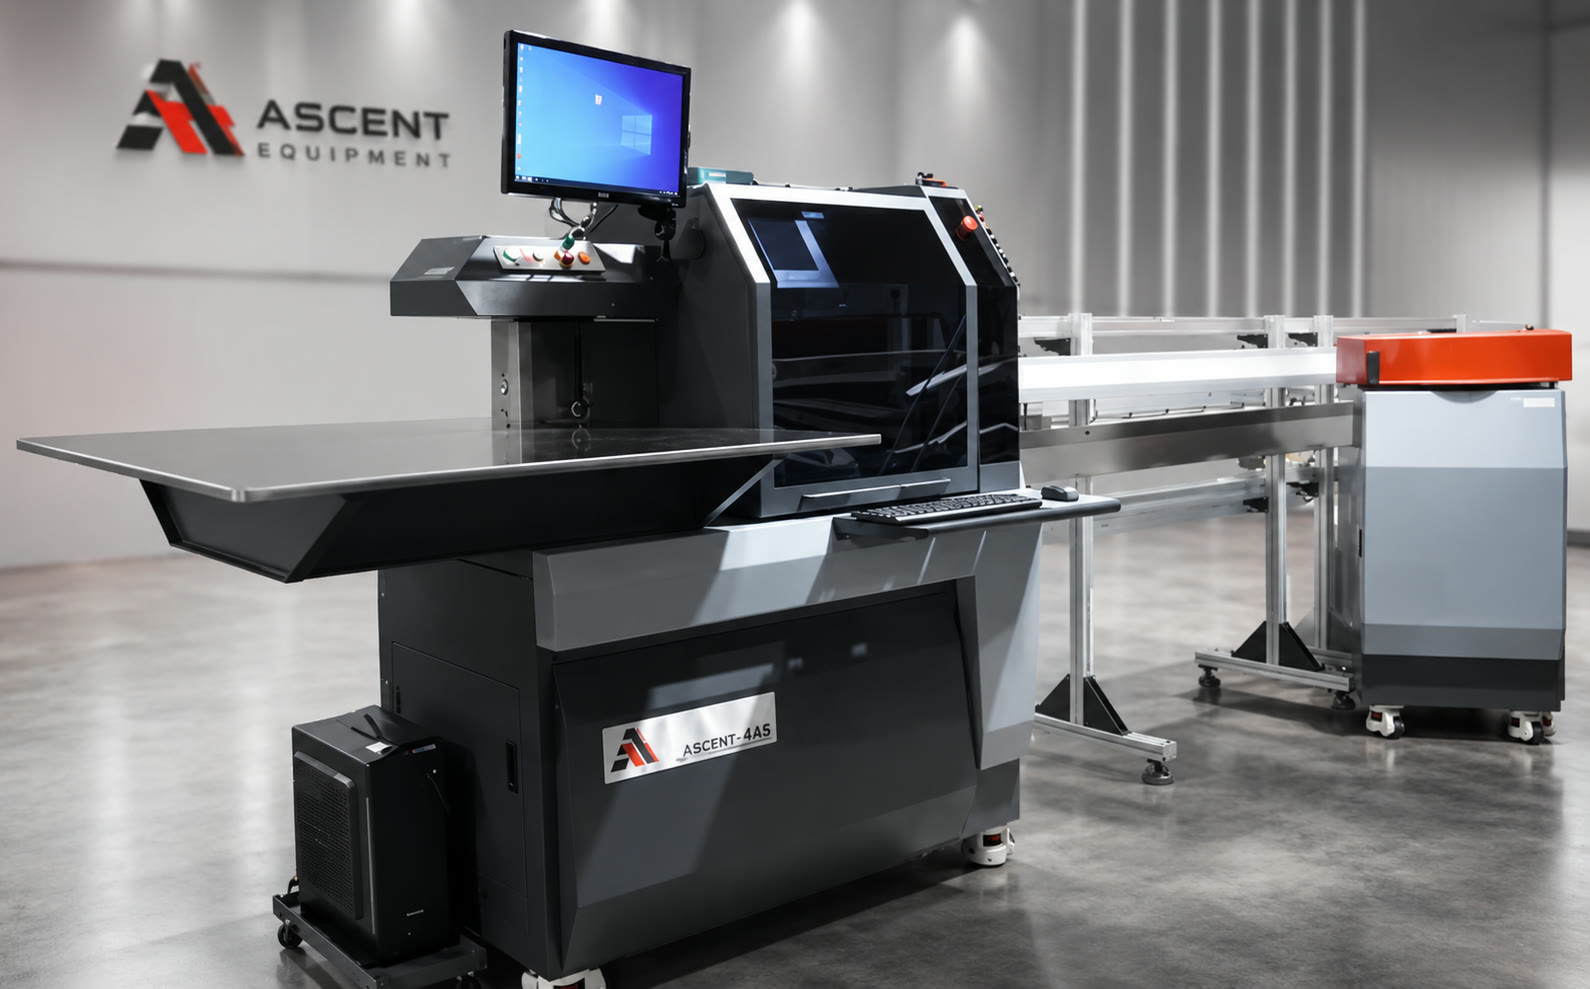
1. An Ascent channel-letter bending machine
The bending machine is the heart of the operation. It forms aluminum, stainless steel, or galvanized coil into accurate letter returns, depending on the machine and material configuration. Automated notching, flanging, and bending reduce handwork and help one operator repeat the same result from letter to letter.
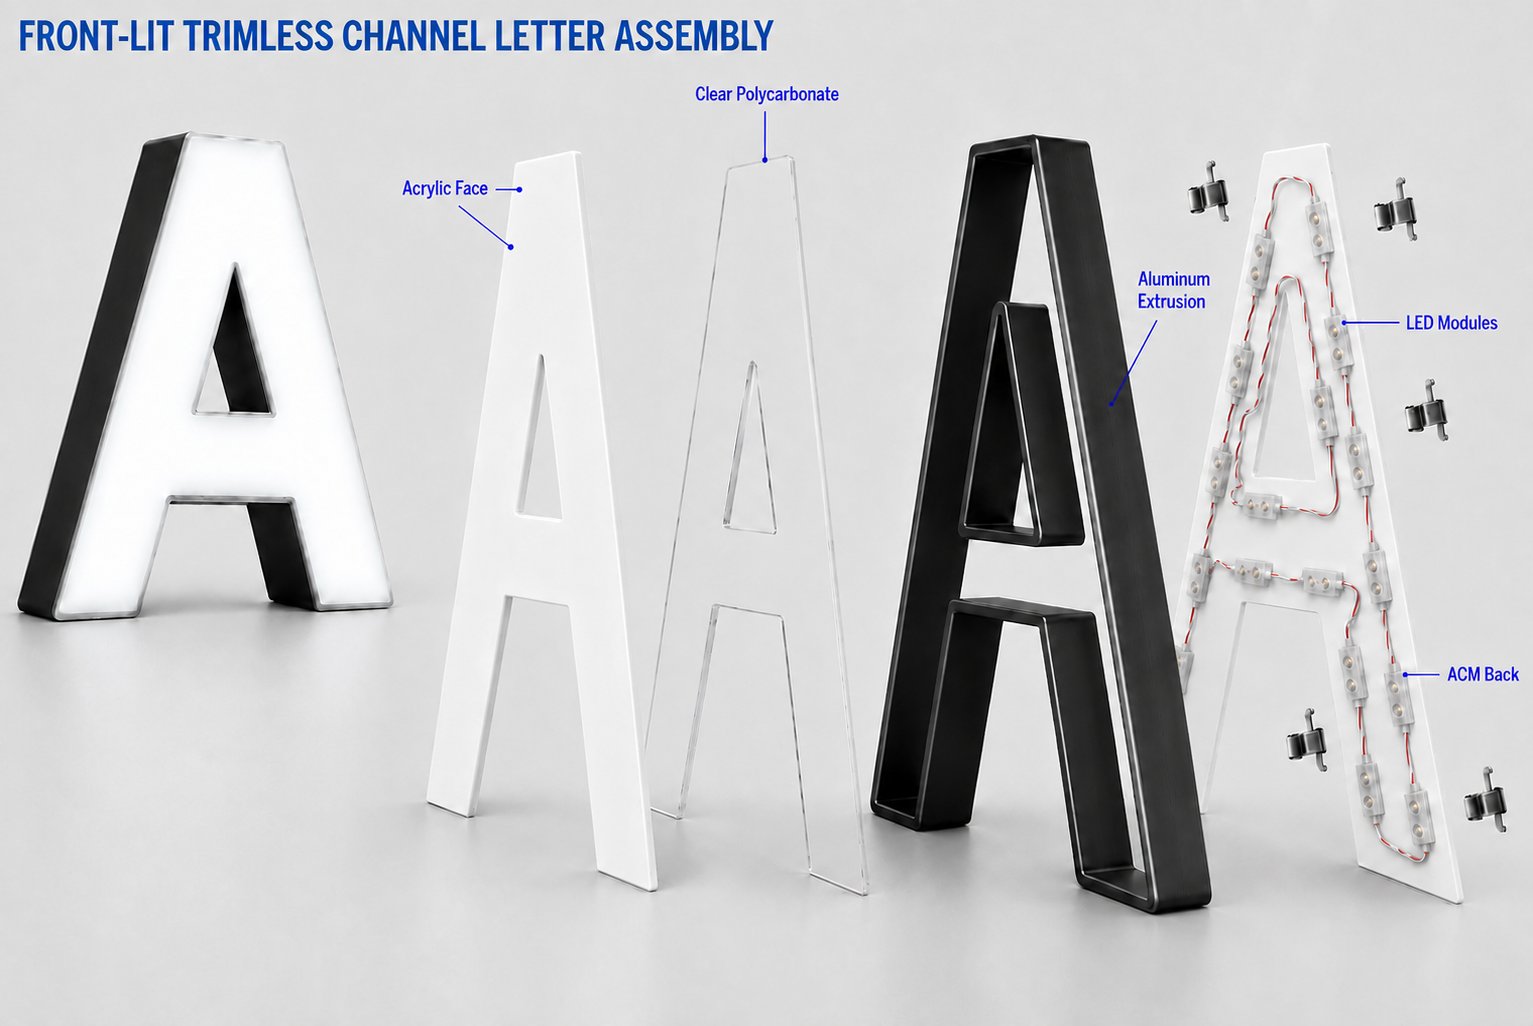
The right Ascent model depends on what you plan to sell. A shop focused on conventional front-lit letters may prioritize efficient production of trim caps and flanges. A shop targeting premium trimless, reverse/halo-lit or specialty letters may choose a machine designed for those construction methods. Do not choose based solely on the longest feature list. Choose the machine that matches the products customers are likely to buy during your first two years.
Why it matters: Consistent bending improves fit-up, reduces correction time, and makes final assembly more predictable. It also helps a small shop increase output without adding the same amount of manual labor.
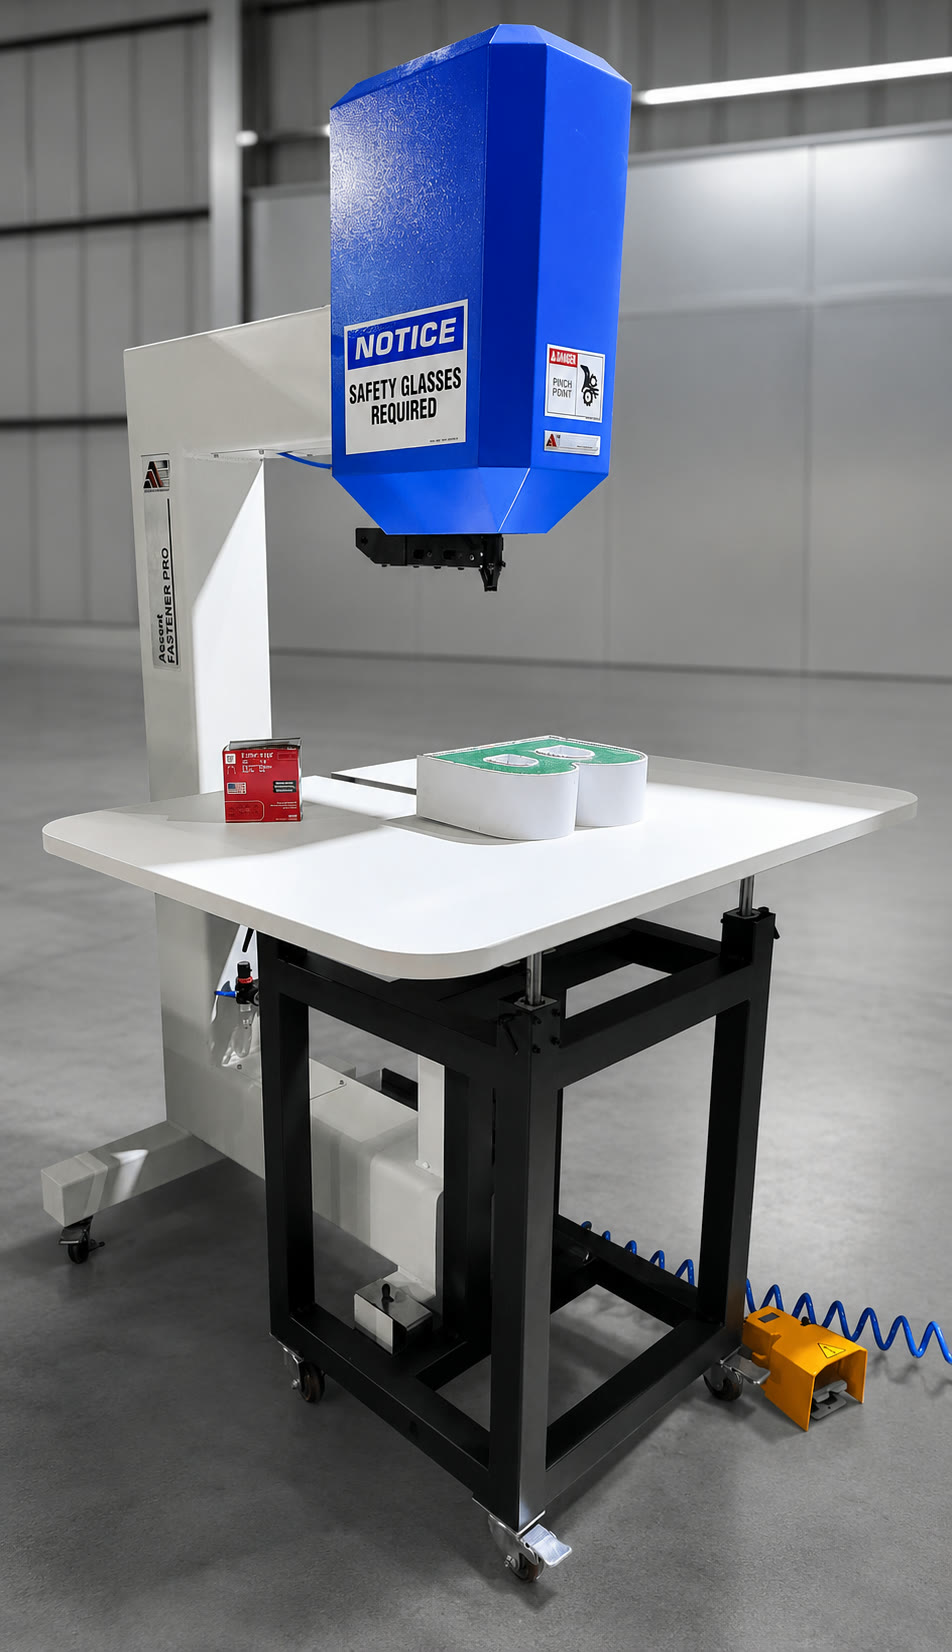
2. A pneumatic channel-letter stapler
A stapler may not be the most glamorous machine in the shop, but it can remove a surprising amount of repetitive assembly work. It fastens the formed return to the letter back quickly and consistently, giving the fabricator a stable assembly for the next production steps.
This is especially valuable when producing repeated letters, complete alphabets or multi-location projects. The goal is not merely speed. A controlled, repeatable fastening method helps reduce variation between operators and makes training easier. Plan for the required compressed-air supply and a comfortable loading and unloading area around the machine.
3. A CNC router
The CNC router cuts letter backs, acrylic or polycarbonate faces, patterns, logos and many of the flat components used in sign fabrication. It also gives the business work beyond channel letters, including dimensional letters, routed panels, push-through components and cabinet parts.
A router is most valuable when the files and production steps are organized. Standardize material locations, bit selection, feeds and speeds, hold-down methods and file naming. Good housekeeping around the router saves nearly as much time as faster cutting.
What it costs to get started
For this article, we're pricing a specific starter configuration: the Ascent TMB-3 Bending & Trim Machine as the core bender, a 4'×8' CNC router, a pneumatic channel-letter stapler, and a starting set of accessories. The TMB-3 is a versatile choice for a first machine — it converts flat aluminum coil into aluminum trim and handles channel-letter bending in the same unit, which is useful when you don't yet know whether trim-cap or trimless work will dominate your order book.
| Equipment | Cost |
|---|---|
| Ascent TMB-3 Bending & Trim Machine | $42,000 |
| CNC Router, 4' × 8' bed | $45,000 |
| Pneumatic Channel-Letter Stapler | $7,500 |
| Other accessories (tooling, consumables, safety equipment) | $3,000 |
| Total equipment investment | $97,500 |
These figures are provided for this scenario and reflect one possible configuration; actual pricing depends on the exact models, options, and freight for your shop. Contact Ascent Equipment for a quote specific to your production plan.
What this equipment can produce
The TMB-3, CNC router, and pneumatic stapler form exactly the core production chain described above: the router cuts backs and faces, the TMB-3 forms the aluminum trim and returns, and the stapler assembles the letter bodies.
Mechanizing that chain changes what one crew can output. Ascent has found that a shop producing 15 to 20 channel letter jobs per month by hand can often handle 35 to 40 with the same crew once bending is mechanized — not because the machine is magic, but because the labor hours it frees up can go to the steps that were previously waiting on bending to finish. That's the production capacity this $97,500 investment is built to unlock: roughly double the monthly output, without doubling the crew.
Estimating your payback period
The equipment cost is the easy number. A more useful number is how long it takes that equipment to pay for itself, and that depends entirely on your own pricing, volume, and margins, not on a price list. We won't pretend to know your market better than you do, so here's the method, plus a worked range so you can find the row closest to your own situation.
Months to payback = Total equipment cost ÷ (average job value × jobs per month × your margin after materials and labor)
Worked example (illustrative numbers only, not a projection for your shop): a shop running 25 jobs a month at an average job value of $3,500, keeping 25% of that as margin after materials and labor, generates roughly $21,875 a month toward fixed costs and equipment. At that rate, the $97,500 investment is recovered in a little under 4.5 months.
Payback period at different volumes and job values (months, at a 25% margin assumption)
| Average job value | 20 jobs / month | 30 jobs / month | 40 jobs / month |
|---|---|---|---|
| $2,000 | 9.8 months | 6.5 months | 4.9 months |
| $3,500 | 5.6 months | 3.7 months | 2.8 months |
| $5,000 | 3.9 months | 2.6 months | 2.0 months |
A useful check: The 25% margin figure above is our planning assumption, not a guarantee from Ascent. It's there to make the formula concrete. Run the same math with your own real numbers instead: your actual per-job price, your realistic volume in month one versus month six, and your shop's real margin after materials and labor.
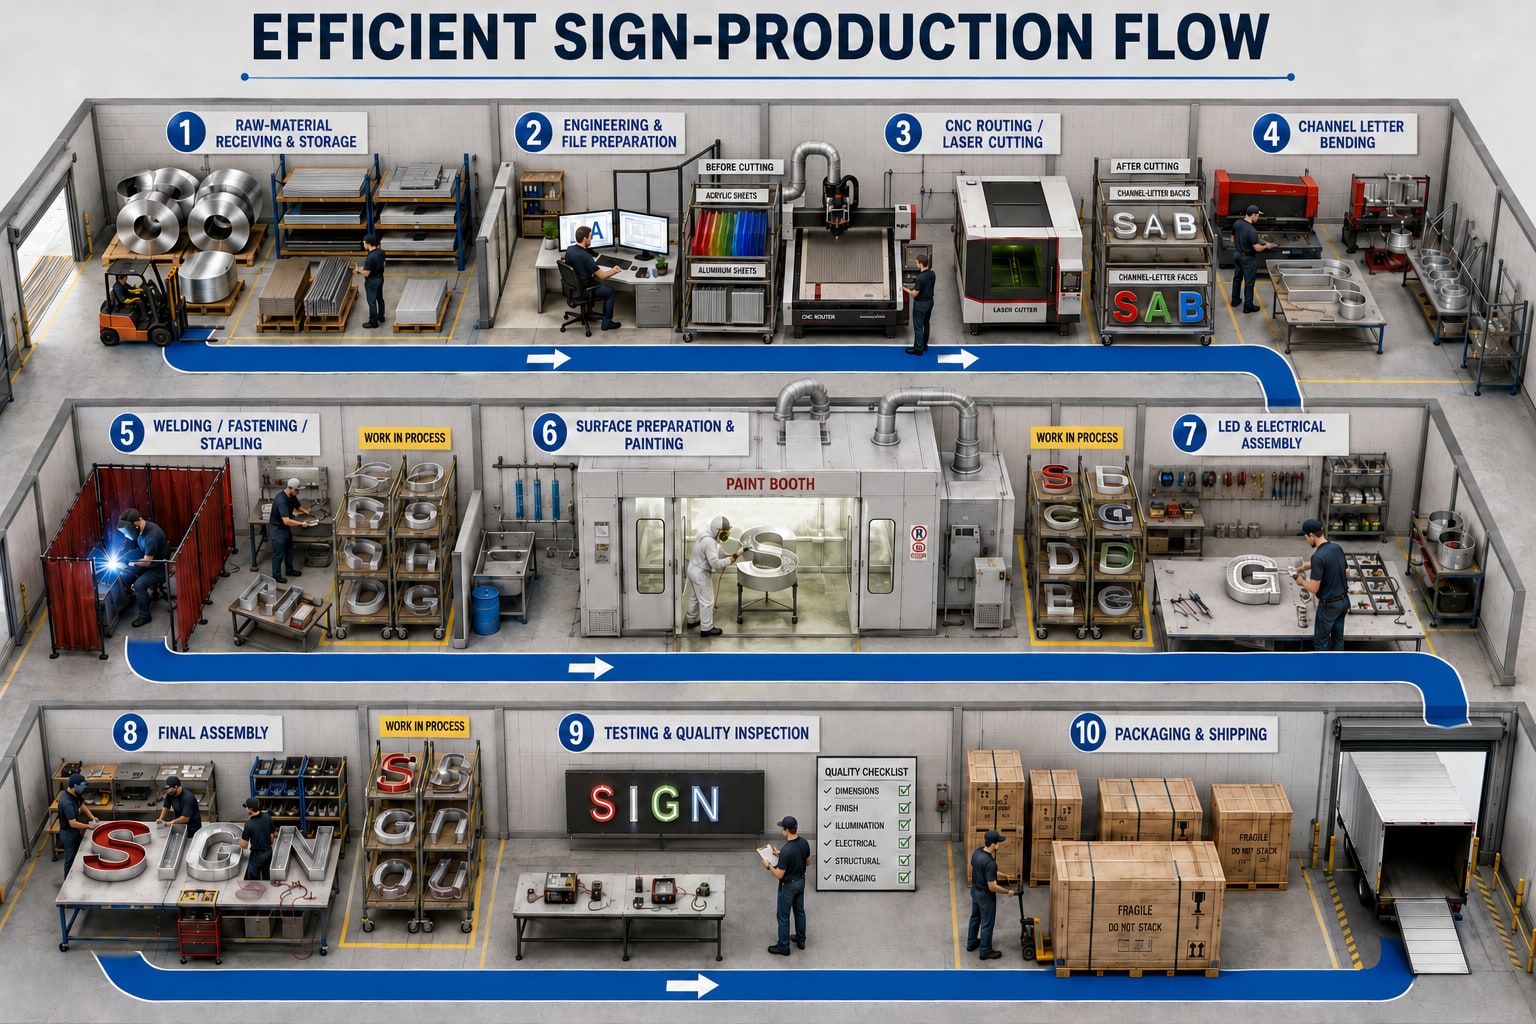
How the core workflow fits together
- Prepare and approve the artwork. Confirm dimensions, letter depth, construction, illumination, mounting method, colors and electrical requirements before production begins.
- Nest and cut flat components. Use the CNC router to cut backs, faces, patterns and related components from the approved files.
- Form the returns. Send the letter geometry to the Ascent bending machine and form the return material for each character or logo element.
- Assemble the letter bodies. Fit the returns to the backs and use the pneumatic stapler or the appropriate joining method for the chosen construction.
- Finish, illuminate and test. Apply the required finish, install LEDs and electrical components, complete the face or back assembly and test every letter before packing.
- Package for the real journey. Protect faces, corners, wiring and painted surfaces. Label parts clearly so the installer can identify them at the job site.
Optional equipment: when to add it
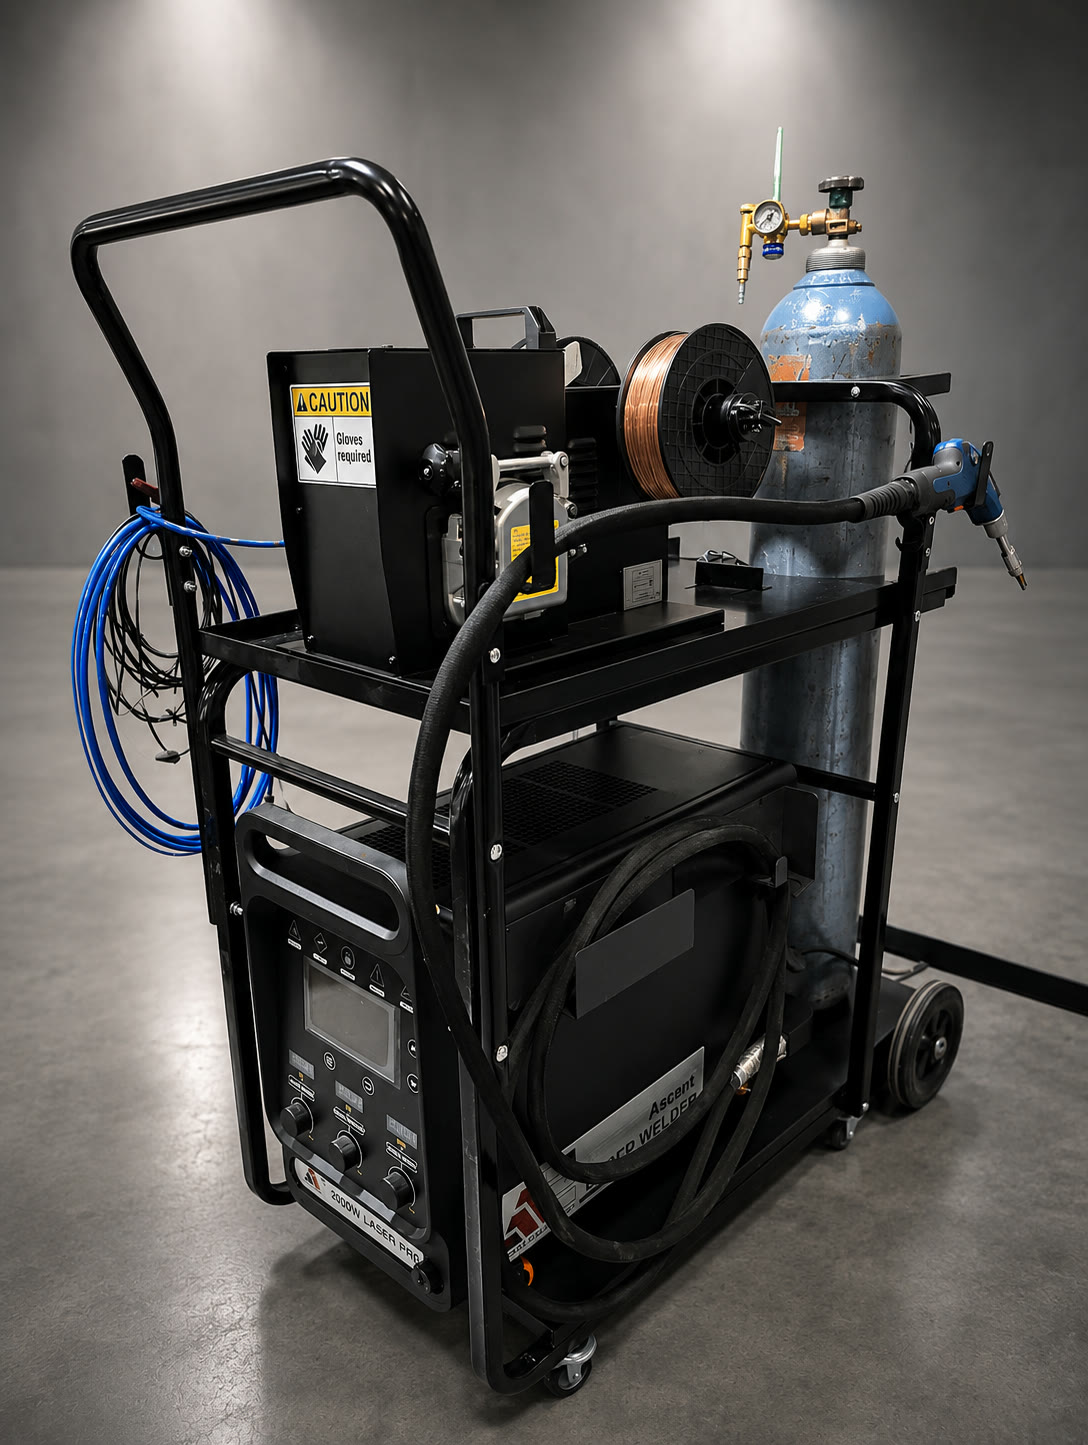
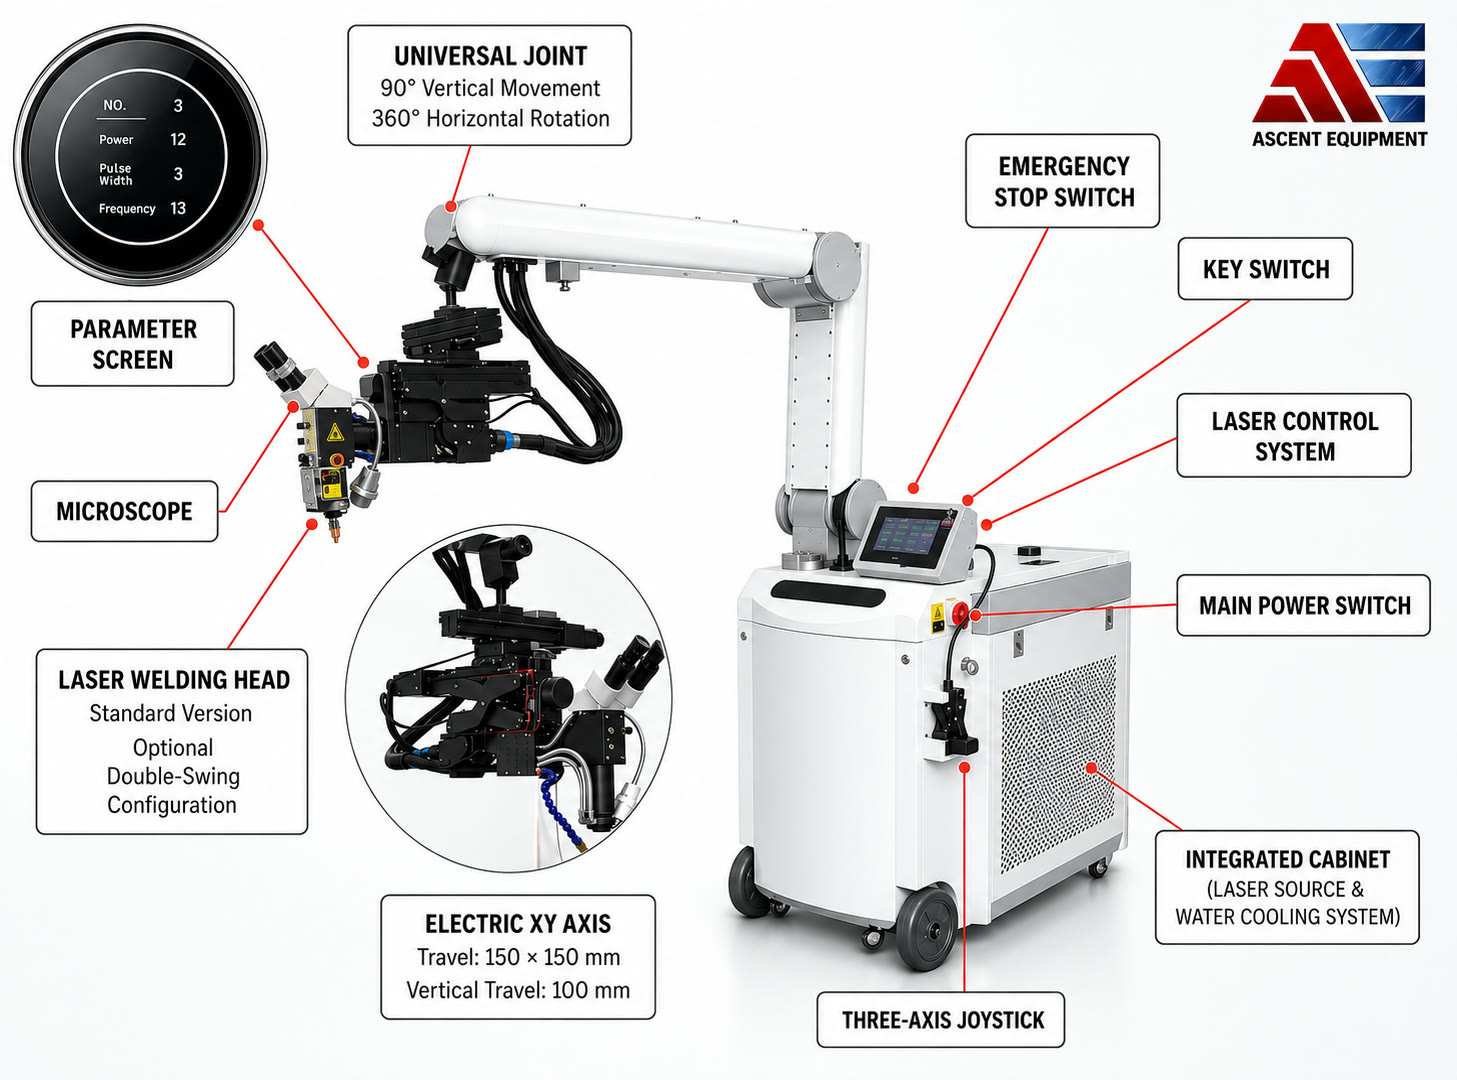
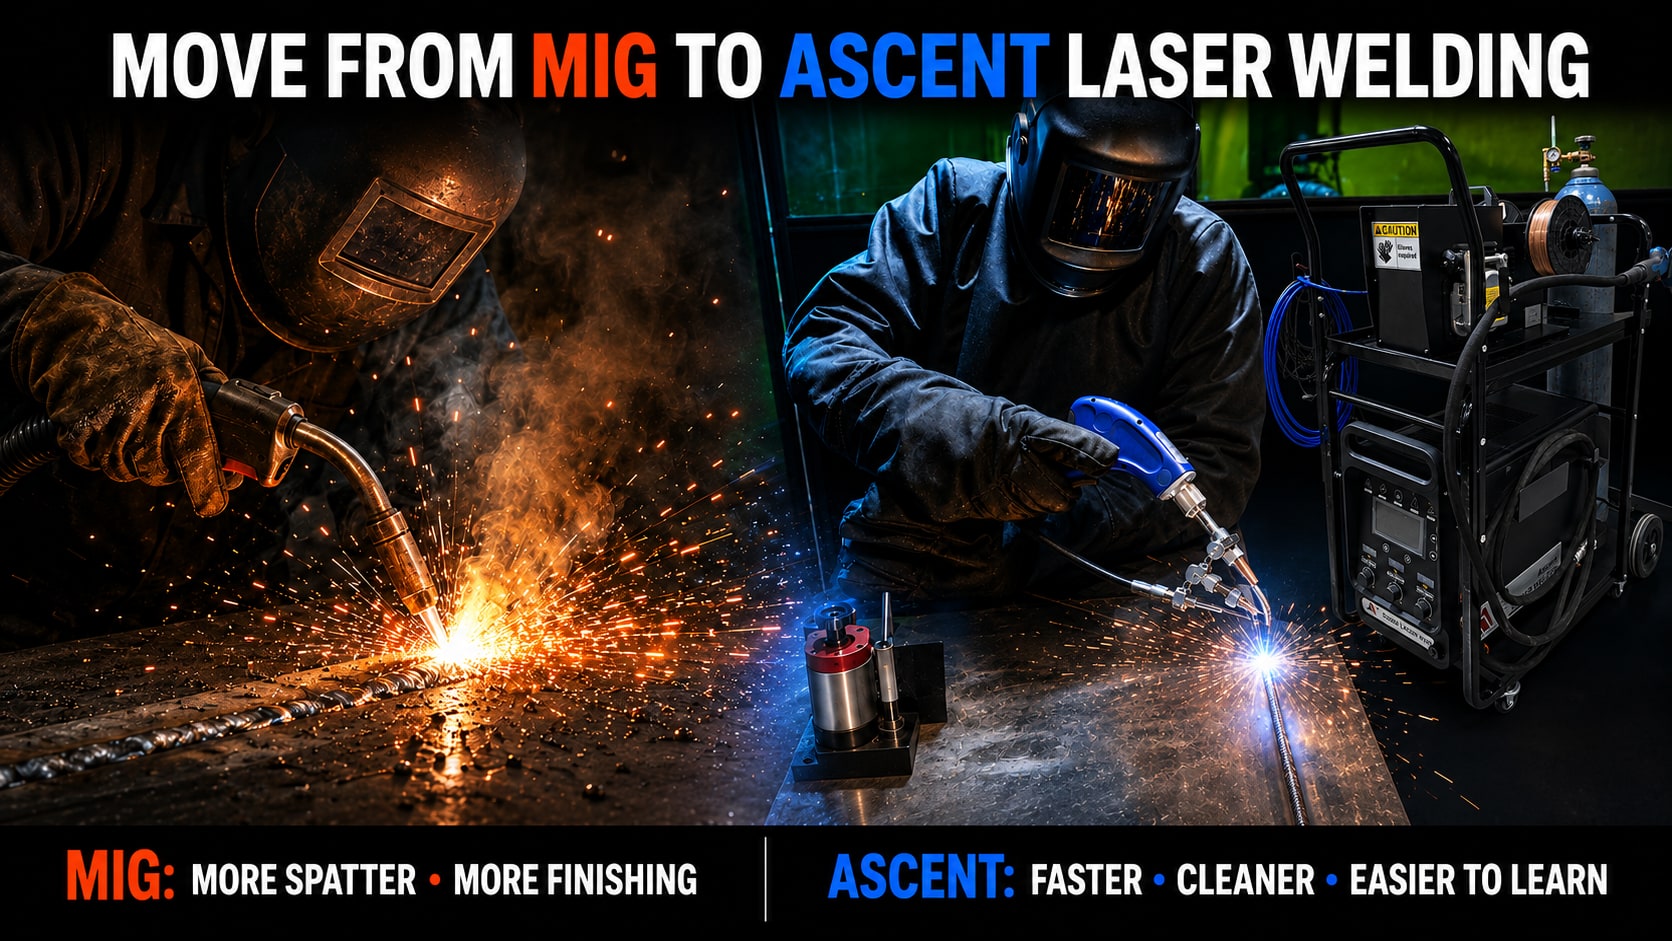
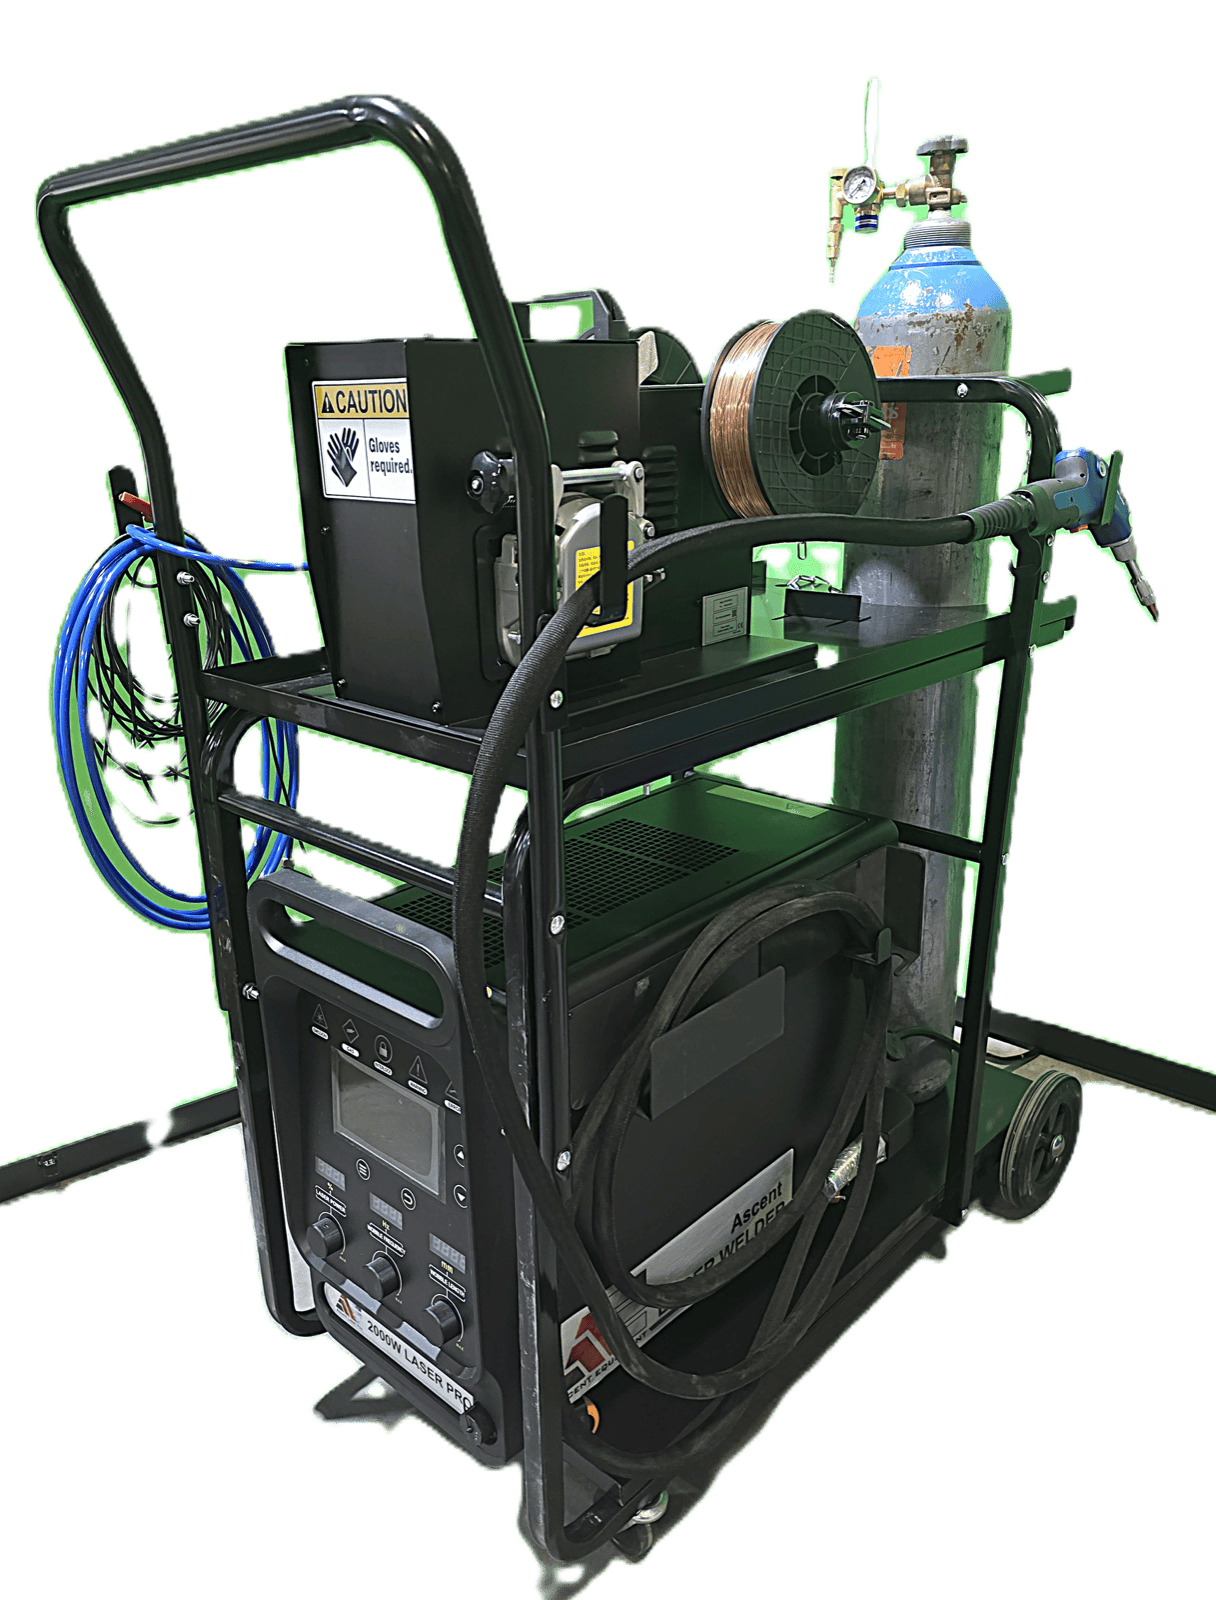
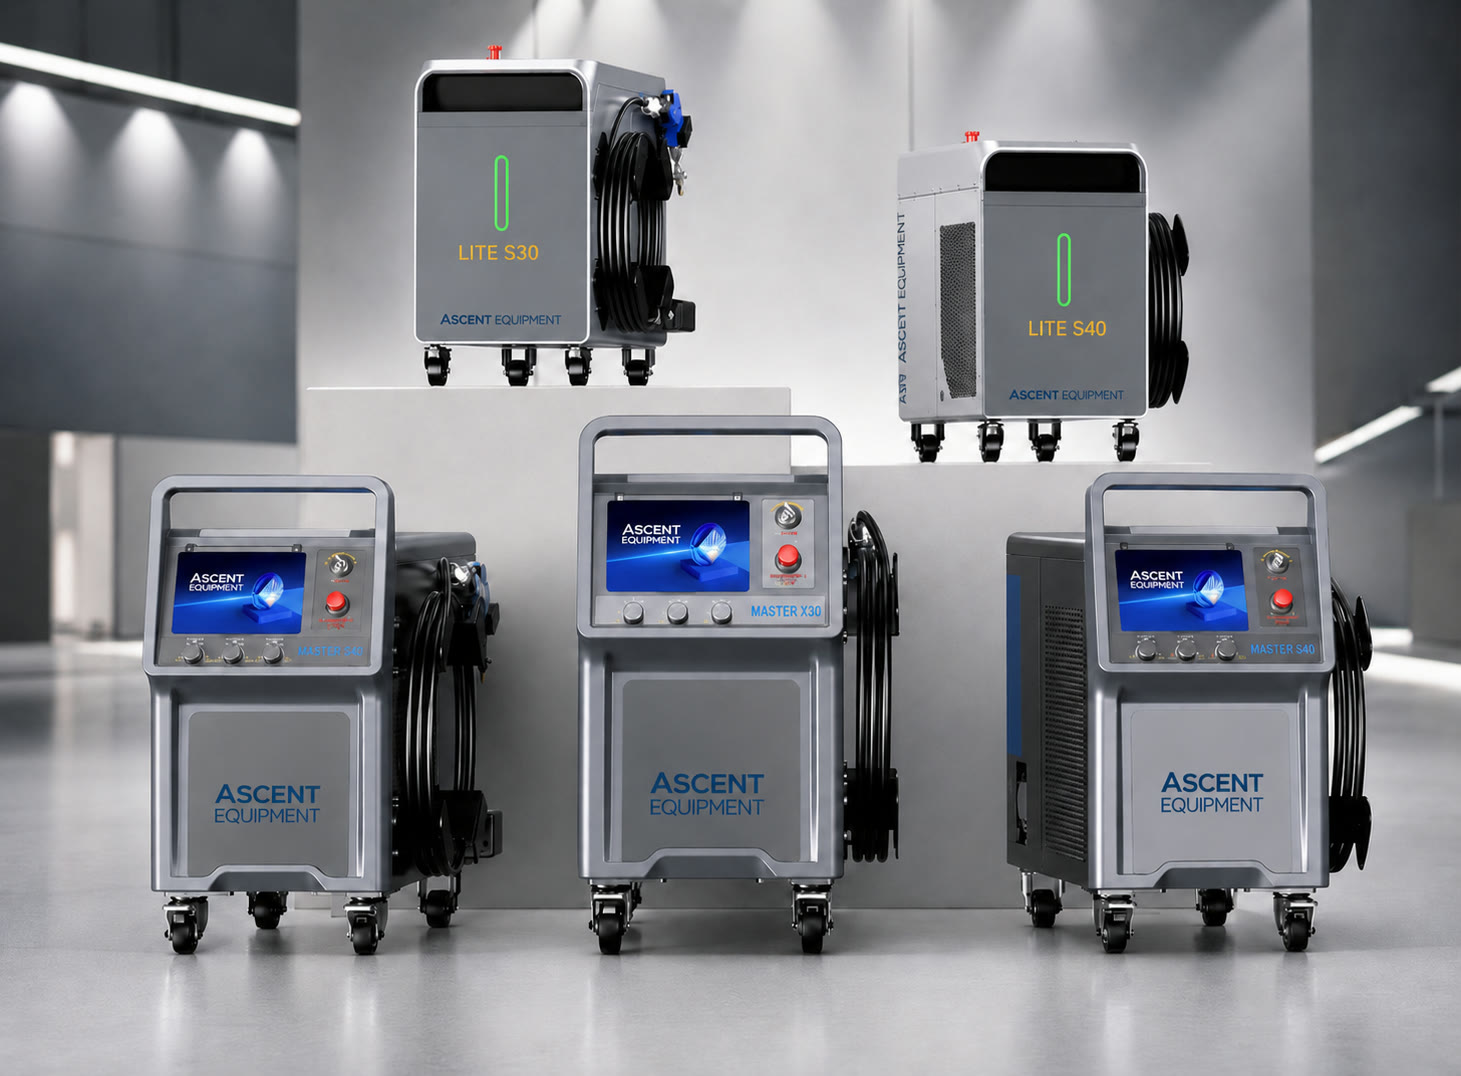
A handheld or tabletop laser welder
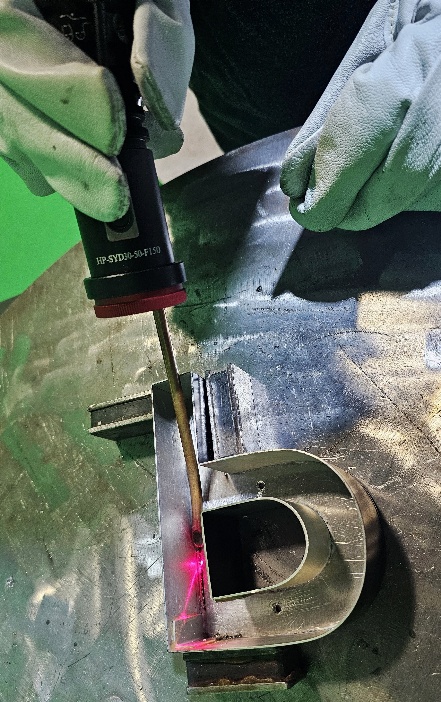
A laser welder can be a major upgrade when the shop produces stainless-steel letters, aluminum fabrication, reverse/halo-lit letters or other products that require clean welded seams. Compared with traditional welding methods, laser welding can provide narrow, controlled welds with less heat input, less distortion and less finishing on suitable materials and joints.
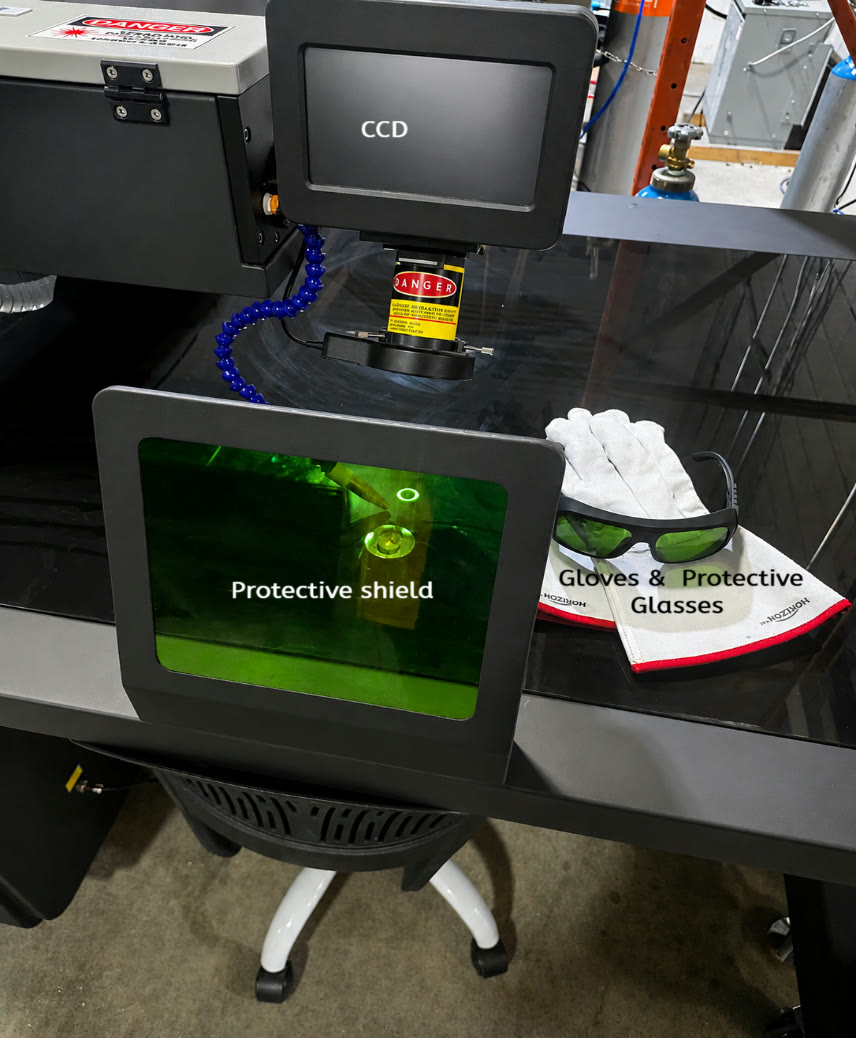
It can also shorten the learning curve for appropriate applications, but it is not a casual tool. A laser welder requires a controlled work area, proper guarding, process-specific PPE, operator training and a documented laser-safety program. Include safety infrastructure in the purchase decision rather than treating it as an accessory.
Buy the welder when outsourced welding, manual finishing or missed specialty work is costing more than the equipment and safety program. Until then, outsourcing occasional welded letters may preserve cash.
A spray booth
A spray booth gives you greater control over custom colors, painted returns and specialty finishes. It can reduce outside lead times and help keep color-sensitive projects on schedule. However, it also introduces permitting, ventilation, filtration, fire-protection, environmental and worker-safety requirements that vary by location.
For many startups, powder coating or painting can be outsourced first. Bring finishing in-house when volume is steady, color turnaround is affecting sales, and the facility can support a compliant installation. Always confirm local building, fire, occupational-safety and environmental requirements before designing or purchasing a booth.
Plan the shop around flow
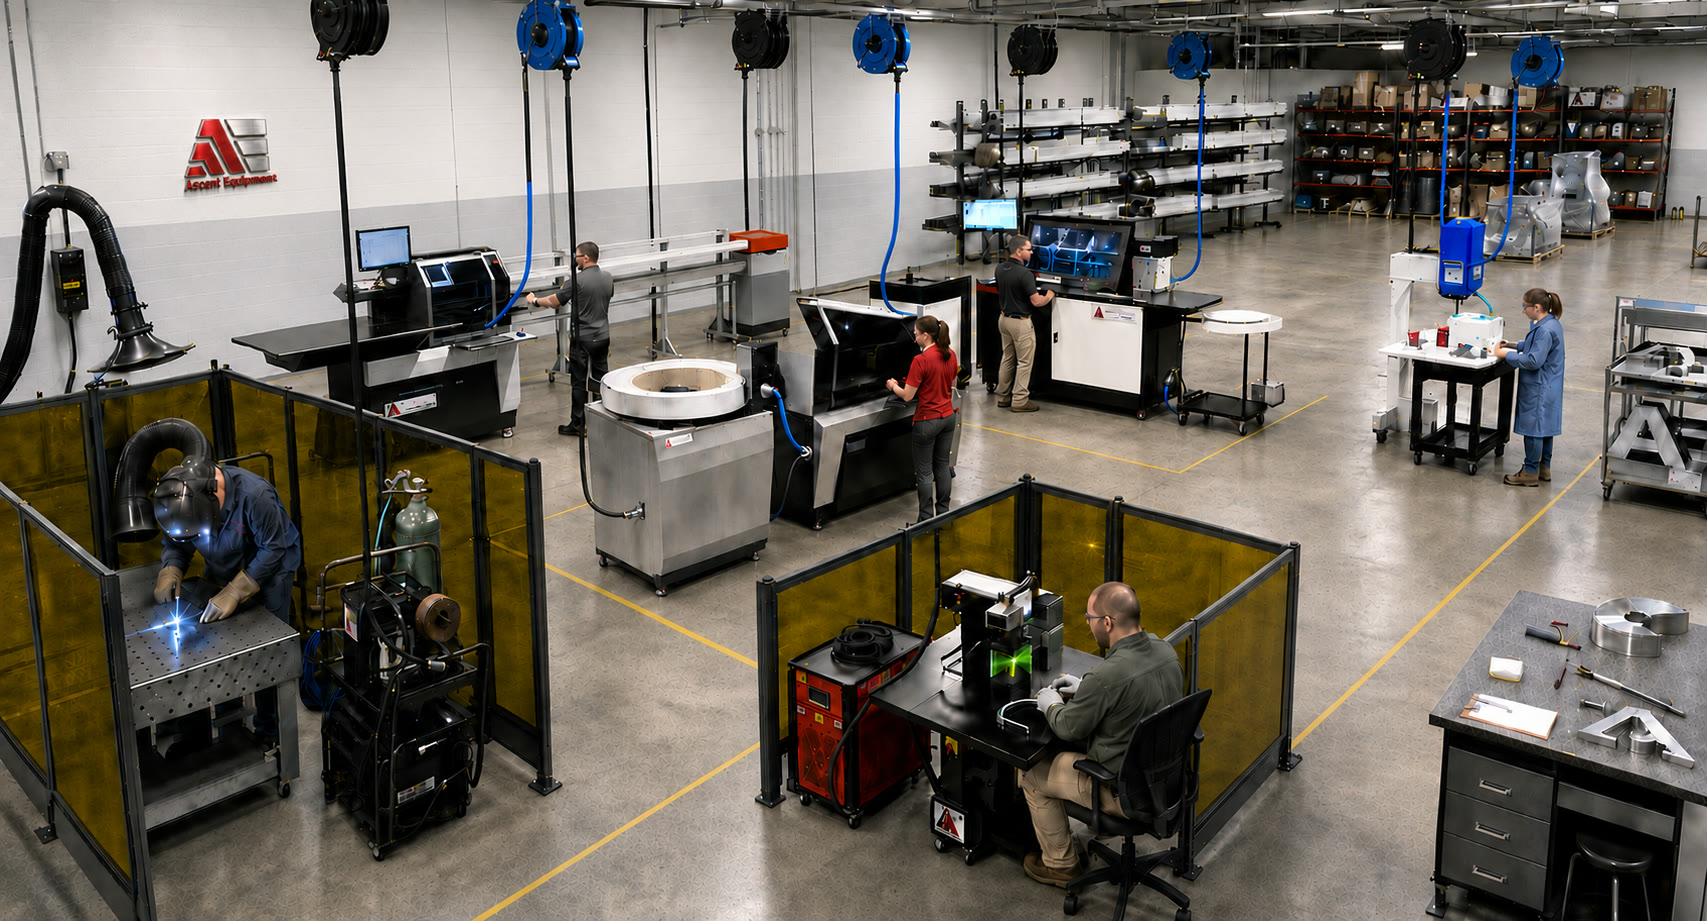
A productive shop should feel like work is moving forward, not crossing back and forth. Arrange the floor so raw material enters near storage, flat components move through the router, returns move through the bender, and both meet in an assembly area. Finishing, electrical installation, testing and packing should follow in that order.
- Keep coil racks close to the bending machine and sheet storage close to the router.
- Leave enough clearance for full sheets, long returns, extrusion holders and maintenance access.
- Separate clean assembly and electrical testing from dusty routing and grinding.
- Create a dedicated quality-control and final-testing station with good lighting.
- If laser welding or spray finishing is added, isolate those processes with the required engineered controls.
You do not need the biggest building you can afford. You need enough space to handle material safely, prevent damage and let two people work without constantly moving each other's jobs.
Start with a small, cross-trained team
A new channel-letter operation can begin with a lean team if the product range is controlled. One person may handle estimating, customer communication and file preparation while one or two people operate the equipment and assemble signs. As orders increase, electrical assembly, finishing, quality control and packing can become dedicated roles.
Cross-training matters. A business becomes fragile when only one person understands the bender, router files or LED layout. Write down the setup for repeat jobs, save approved files and use checklists for material, color, depth, illumination and mounting details.
Do not underprice the work
New shops often calculate aluminum, acrylic and LEDs but forget the time spent reviewing artwork, creating production files, ordering special colors, testing, packing and solving installation questions. A profitable estimate must cover the entire job, not only machine time.
- Materials and purchased components
- Design review, shop drawings and file preparation
- Machine setup and production labor
- Assembly, finishing, wiring and testing
- Packaging, freight coordination and expected waste
- Overhead, warranty risk and a reasonable profit margin
A useful rule: If every quote wins, your price may be too low. Track estimated hours against actual hours and adjust your pricing with real production data.
Build quality into every step
Customers remember whether the letters fit, illuminate evenly and arrive on time. Quality control should begin before cutting, not at the shipping table. Confirm the approved drawing, verify material thickness and color, check return depth, inspect corners and seams, test electrical components and photograph the completed order before packaging.
If you are producing listed electric signs, understand the certification, labeling and documentation requirements that apply to your market and product. In the United States and Canada, electrical sign requirements and accepted certification paths are not interchangeable in every situation. Work with the appropriate authority, inspection body and qualified electrical professionals before selling certified products.
A sensible three-stage growth plan
| Stage | Equipment focus | Business goal |
|---|---|---|
| 1. Launch | Ascent bending machine, pneumatic stapler and CNC router | Produce a controlled range of channel letters consistently; outsource occasional welding and finishing. |
| 2. Expand | Add a laser welder with the complete safety setup | Bring suitable specialty letters and welded fabrication in-house; reduce finishing and outside lead times. |
| 3. Integrate | Add a compliant spray booth and supporting finishing area | Control custom colors and schedules; pursue repeat programs and higher-value work. |
How Ascent Equipment supports the startup
The machine is only part of the decision. A new owner also needs help with installation, operator training, production questions and service after the first week. Ascent Equipment works with sign manufacturers to select equipment around their intended products and workflow, with installation and on-site training available as part of the equipment package and ongoing technical support after the shop is running.
That support is especially important during startup. The first goal is not to run every possible material. It is to establish a few repeatable products, train the team properly and build confidence with each completed order.
Final thoughts: grow into the shop you want
Starting a sign business is exciting, but it is also very practical. Customers need accurate quotes, clear communication, dependable quality and honest delivery dates. Equipment helps you meet those expectations, but disciplined systems turn the equipment into a business.
Start with the channel-letter products you understand and the customers you can reach. Invest in an Ascent bending machine, a stapler and a CNC router to create a capable production foundation. Add laser welding and in-house painting when demand makes the decision obvious. With the right workflow, training and support, a small shop can grow into a serious channel-letter manufacturer one well-made job at a time.
Ready to plan your production setup? Speak with Ascent Equipment about the channel-letter styles you want to manufacture, your expected volume, available floor space and future expansion plans. A machine package should fit the business you are building — not force the business to fit the machines. Contact us to get started.