
How to Train a Channel Letter Fabricator
Labor is by far the biggest variable cost when you’re making channel letters—way bigger than what you’ll spend on materials or even on equipment. Plus, it’s much harder to control. If your shop nails the hiring, training, and especially the retention of good fabricators, you’ll have an edge that new toys and machines alone can’t give you.
Most people in the sign business learn this the hard way. They hire someone with promise, invest a couple of months showing them the ropes, then either watch the new hire bail for a slightly higher wage across town, or realize their careful training just turned out someone who can babysit one machine, but not actually keep up with a real production day.
Let me walk you through what matters: who to bring on, what you should expect versus what you’ll need to actually teach, the order of training, and how long it really takes to get someone up to speed with each machine.
The Real Lesson: You Don’t Need Prior Sign Shop Experience
Your first instinct is probably to look for someone with sign shop experience. Honestly, that rarely works out. Someone from another shop brings their habits—built on someone else’s machines, working at a different pace, possibly with lower or weirder quality standards. A few of those habits might help, but most do not, and getting someone to unlearn what’s been drilled into them is harder than teaching from scratch. Put a hand-bender on a CNC bender, and you’ll spend weeks getting them to stop “fixing” what the machine already did right.
So: you actually want someone with zero sign shop experience but the right mix of abilities.
Testing for the Right Aptitude
You can spot the right candidate in under twenty minutes with a simple working test. Here’s what you’re after:
Manual dexterity and spatial sense.
This job is hands-on—building up metal letters from raw shapes, fitting LEDs into tight spaces, making things line up just right. Have them assemble a small mechanical object right there in the interview. Watch how they hold screws, whether they struggle with alignment. If they can do that smoothly, they’ll probably do well on the floor.
Staying focused on repetitive work.
It’s factory work—you’re going to repeat steps all day. The danger is drifting into autopilot, which leads to sloppy mistakes. Ask about previous repetitive work. Listen for signs that they can keep their head in the game, or if they lost interest fast.
Following procedure—precisely.
You really don’t want improvisers at this stage. Quality depends on things getting done the same way every time. Look for people who like doing things “by the book,” and see pride in getting the process right, not “figuring it out” their own way.
Basic comfort with tools.
Not an expert, just comfortable. Anyone who’s popped a car battery out, patched drywall, or fiddled with home DIY projects will pick up your machines much faster. They already understand that machines work best when used as intended, and if something sounds weird, they know to slow down.
What Doesn’t Matter:
They don’t need to know welding, sign-making, CAD, or be unusually big or strong. This is light manufacturing.
Day-One Expectations
Your new hire should be able to:
- Read a tape measure
- Follow step-by-step written instructions
- Spot a mistake and stop, instead of making it worse
- Handle basic hand tools (file, deburring tool, mallet, pliers)
- Do basic computer stuff (open files, click through menus)
If any of these basic skills are missing, you’re looking at a longer training schedule. Make sure to check during the interview.
What You’ll Actually Teach
Everything else—in other words, all the actual fabrication—gets taught by you. Don’t assume that experience from somewhere else means anything transfers automatically.
Here’s the core list:
- Building sequence for channel letters (the order things go together, and why)
- Operation for every key machine
- Material handling (feeding coil, working with sheet and acrylic)
- Quality standards—what’s “good enough” and what needs fixing
- Shop and machine safety (especially laser safety)
- LED install: module spacing, driver sizing, wiring
- Packing and labeling for shipping
Train in the Shop’s Workflow Order
Start on day one at the beginning—don’t just stick the new person wherever you need help that day.
Phase 1: Safety Orientation (Day 1)
Before anyone touches a machine, do a full safety run-through: PPE, emergency stops, laser safety, fire extinguishers, first aid. Don’t breeze through it—spend the morning so that new hires actually get it. When people know why a rule is there, they’ll remember it under stress.
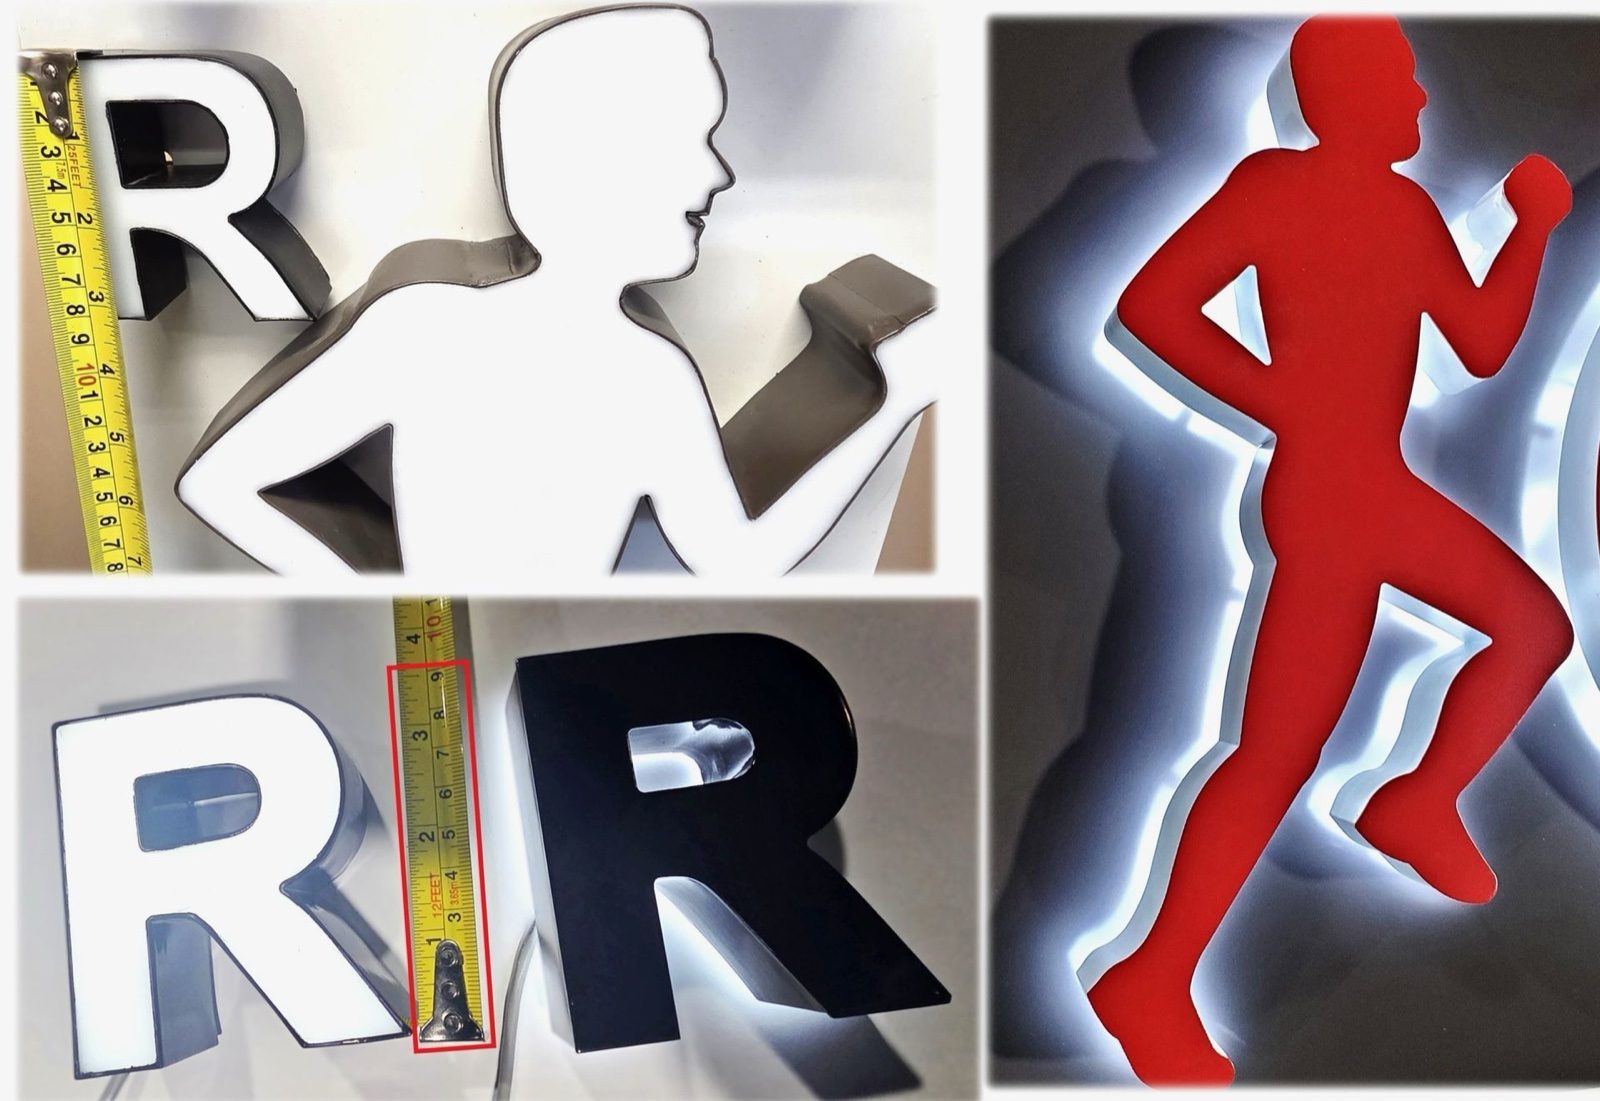
Then, introduce a finished channel letter. Hold one in your hand, pull it apart, show what every piece does—the face, returns, back, trim, LEDs, driver. People do better when they know what they’re building before they start.
Phase 2: Material Prep (Days 1–2)
Get hands on with the raw materials: straighten coil, cut acrylic, deburr every edge. These are simple steps, but they build the habits your whole process relies on. If you skip this, you’ll see weld fit-up problems later—and blame the wrong thing.
Phase 3: CNC Routing—Faces and Backs (Days 2–5)
The CNC router isn’t rocket science, but prepping files takes longer than actually running it. Have your trainee start by loading material and running simple jobs. Leave file prep for week two, after they’ve seen enough parts to understand what the files actually drive.
Phase 4: CNC Bender (Days 3–10)
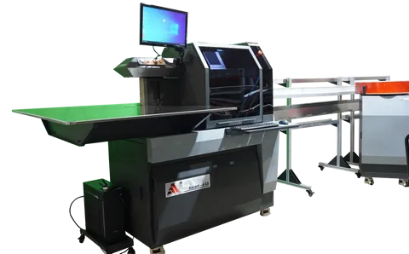
This is the workhorse of channel letter production. Start with easy letters (straight-sided, like H or I)—they show errors plainly. Once they nail those, move to curved and complex shapes. Production speed comes later; for now, you want correct bends with no hacks or weird fixes. By days 5–10, they should be able to run a mixed alphabet pretty quickly—anywhere from 45 minutes to an hour and a half, depending on size and complexity.
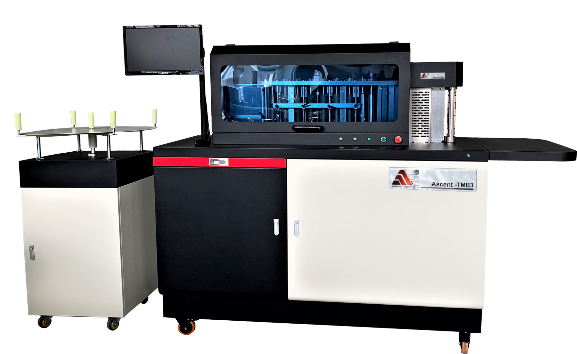
Phase 5: Ascent TMB-3 Trim Bending (Days 4–6)
This step is fast to pick up. Most folks can load trim coil and run straight sections right away. Matching trim to the letter, especially curves, takes a few days to smooth out. Three to five days, and they should be up to production speed.
Phase 6: Pneumatic Stapler (Days 5–7)
Attaching trim cap to the return is a quick teach—half an hour for basic use. The rest is practice, getting the right tension and spacing staples evenly without smashing the aluminum. A week of real work is enough for consistency here.
Phase 7: LED Install and Assembly (Week 2)
Most shops under-train this step. LED spacing, especially, matters—a lazy layout causes dark spots, and fixing it in the field is expensive. Drill in why spacing rules matter (they change with letter depth), and pull-test every connection before closing up the letter.
Phase 8: Laser Welding (Weeks 2–4)
Laser welders require special care. Safety comes first—minimum a full day. Make sure PPE is worn (OD5+ glasses—no excuses), explain zones, walk through every emergency step. Don’t let them near the controls until they can repeat everything back.
Start with scrap for the first welds. The only goal is to get a feel for speed, distance, and torch angle. It’s less forgiving than TIG; mistakes are obvious, and the feedback is instant. After a week, a beginner should handle straight seams without burning through or making porous welds. Inside corners require more practice. By weeks 2–4, they should handle full letters at a normal pace, defect-free. Trickier projects—stainless, thick returns, or halo seams—come after real experience.
Training Timelines for Each Machine
Here’s roughly what you can expect:
- CNC router (basic running): 2 days for basics, 1–2 weeks for real batches, 1–3 months for full confidence
- CNC router (file prep): 1 week before trying, 2–4 weeks for good work, 2–4 months for mastery
- CNC Bender: 1–2 days to run, 2–3 weeks to work alone, 1–3 months to master
- Ascent TMB-3 trim bender: 1 day, 3–5 days, 2–3 weeks
- Pneumatic stapler: 1 day, 1 week, 2–3 weeks
- LED assembly: 2–3 days, 1–2 weeks, up to 2 months
- Laser welder (safety): 1 day, no shortcut
- Laser welder (actual welding): 1–2 days, 3–4 weeks, 2–3 months
- Dual gantry laser cutter: 2–3 days, 1–2 weeks, 2–3 months
The big leap is to “acceptable production”—when you can leave the trainee to run batches without standing guard. The fast lanes are trim bending and stapling. Laser welding takes the most time. Plan your sequence so you get useful output on the quick-to-learn stations early, and keep the longer tracks moving in parallel.
What “Production-Ready” Really Means
Just reaching “acceptable production” on each machine isn’t enough. Full readiness means the fabricator can:
- Start any machine cold—load, set up, run the first part—without help
- Catch quality issues before parts move on
- Stop if something goes weird, instead of charging ahead
- Fix common problems alone—misfed coil, missed cut, rough weld, crooked staple
- Keep pace with the job schedule
You can get there in 6–10 weeks with a proper system. Most shops limp there after 4–6 months through on-the-fly training and a lot of rework.
Retention—Hanging On to Good People
Getting someone to production-ready is a big investment—six to ten weeks of slower output, trainer time, and scrap. If they leave inside a year, you start over. So retention counts. Two things help more than anything: clear pay progression and real autonomy.
For pay, lay out exactly what each new skill or certification is worth. Operators know what to aim for, and there’s no mystery in the next raise. For autonomy, let fabricators own their work. If they fix problems instead of just following procedures, they’ll stick around—and your production smooths out.
If you’re setting up a new channel letter line and want to know what training for Ascent equipment looks like, reach out. We include on-site training with every install and can help you tailor staffing and training to your planned output.
Dov "Dave" Rom, President and Chief Engineer, Ascent Equipment
About the Author
Dov "Dave" Rom is the president and chief engineer at Ascent Equipment. He’s spent over a decade designing CNC benders, channel letter benders, laser cutters, and welders for the North American sign industry. He’s worked with shops across the US and Canada to modernize their operations, and writes about sign equipment, automation, and the real economics of production.