
How to Set Up a Laser Welding Workstation
Here’s how to get your workstation right—everything you need to think about, from where to plant the machine on your floor, to what belongs in arm’s reach by the welding table. These steps apply to both the Ascent 2000W handheld laser welder and the QCW tabletop/handheld combination.
Step 1: Pick the Right Spot
Start by making sure three things check out:
Ventilation.
Fume extraction isn’t optional. The station needs to be close enough to a fume extractor that can vent straight outside, not just run an air filter in a corner. Figure out that duct path first; otherwise, you end up with a station in the middle of the shop and no affordable way to run proper ventilation.
Electricity.
A 2000W handheld with water cooling pulls heavy current. The Ascent unit needs its own dedicated 240V circuit. Don’t piggyback off another big machine. Definitely call in an electrician to make sure your power setup’s ready—saves headaches later on.
Safety zone.
The laser’s safety zone is the area where the beam is visible (or could bounce). You’ve got to be able to define and actually control this zone. If you put the station in a busy walkway, beside another workstation, or near an open door, you’ll never keep it safe. Go for a spot where you can enclose three sides with walls, partitions, or laser curtains—makes the safety zone manageable.
Corners and alcoves are usually best—two walls already in place, and you only need one or two other sides blocked off.
Step 2: Set Table Height Right
Get this wrong, and in a week people complain about sore backs, bad welds, and general annoyance.
Standing: The table should hit roughly at your elbow—usually about 36" to 40". You want your arm bent at 90 degrees to the work, not reaching up, and definitely not reaching down.
Seated: Use a table around 28" to 32" high and a stool or chair that matches. Sitting saves fatigue during long runs and gives better control over small parts.
If you’re setting up the QCW tabletop welder, position the operator’s chair so the monitor’s at eye level.
If different operators share the station, just get a height-adjustable welding table—hand-crank or powered. It really is worth it.
For surface material, go with a steel or aluminum plate. Don’t use wood—too flammable for anything involving a Class 4 laser. Drop a copper or graphite felt mat on the table as well; it keeps reflected beams down and protects the surface.
Step 3: Mark Out the Laser Safety Zone
This is where a stray or reflected beam can cause injury. Anyone inside that boundary wears OD5+ glasses (rated for 1070nm). If you’re outside, regular PPE is fine.
The basic idea: If you can see the welding head directly, you’re in the zone. Walls, solid partitions, and OD4+ safety curtains need to block every direct line of sight.
A corner setup works like this: walls cover two sides, a curtain covers the third side, and the fourth has a narrow, easily-moved curtain at the entrance. Mark the whole perimeter with yellow/black tape—a standard. Hang a clear sign: "LASER IN USE — OD5 EYEWEAR REQUIRED BEYOND THIS POINT" on the entry.
Zone size? If you’re mainly welding down onto a tabletop, a space roughly 3m x 3m is enough for most jobs.
Step 4: Set Up Fume Extraction
Laser welding, especially on aluminum and stainless, puts fine particles in the air—even if you don’t see much smoke. These fumes are regulated, and you need to grab them right at the source.
Keep the extractor nozzle 50–150mm from your weld. That close, it actually captures what you want. Push it past 300mm and you’re just moving room air instead.
Your options: Most Ascent welders have an extraction port. Hook that up to a welding fume extractor—ideally, one right on the cart with a nozzle either mounted to the welding head or on a flexible arm. Alternatively, a shop fume arm over the table works too (especially if you move around).
Don’t settle for just propping open doors or running a fan near the ceiling. You need point-source capture.
Make sure your extractor uses a proper HEPA filter for particulates, and an activated carbon stage for vapors. Change those filters regularly—when they clog, fumes go right back into the shop.
Step 5: Tame the Machine and Cables
You’ll have cables everywhere: power, chiller, wire feeder, maybe more. If you ignore cable management, you’re inviting trip hazards, snags, or expensive repairs.
Run the cables out of the way—ideally along the edge of the table or up overhead, never straight across the floor. Use hooks or an overhead cable track to keep them clear.
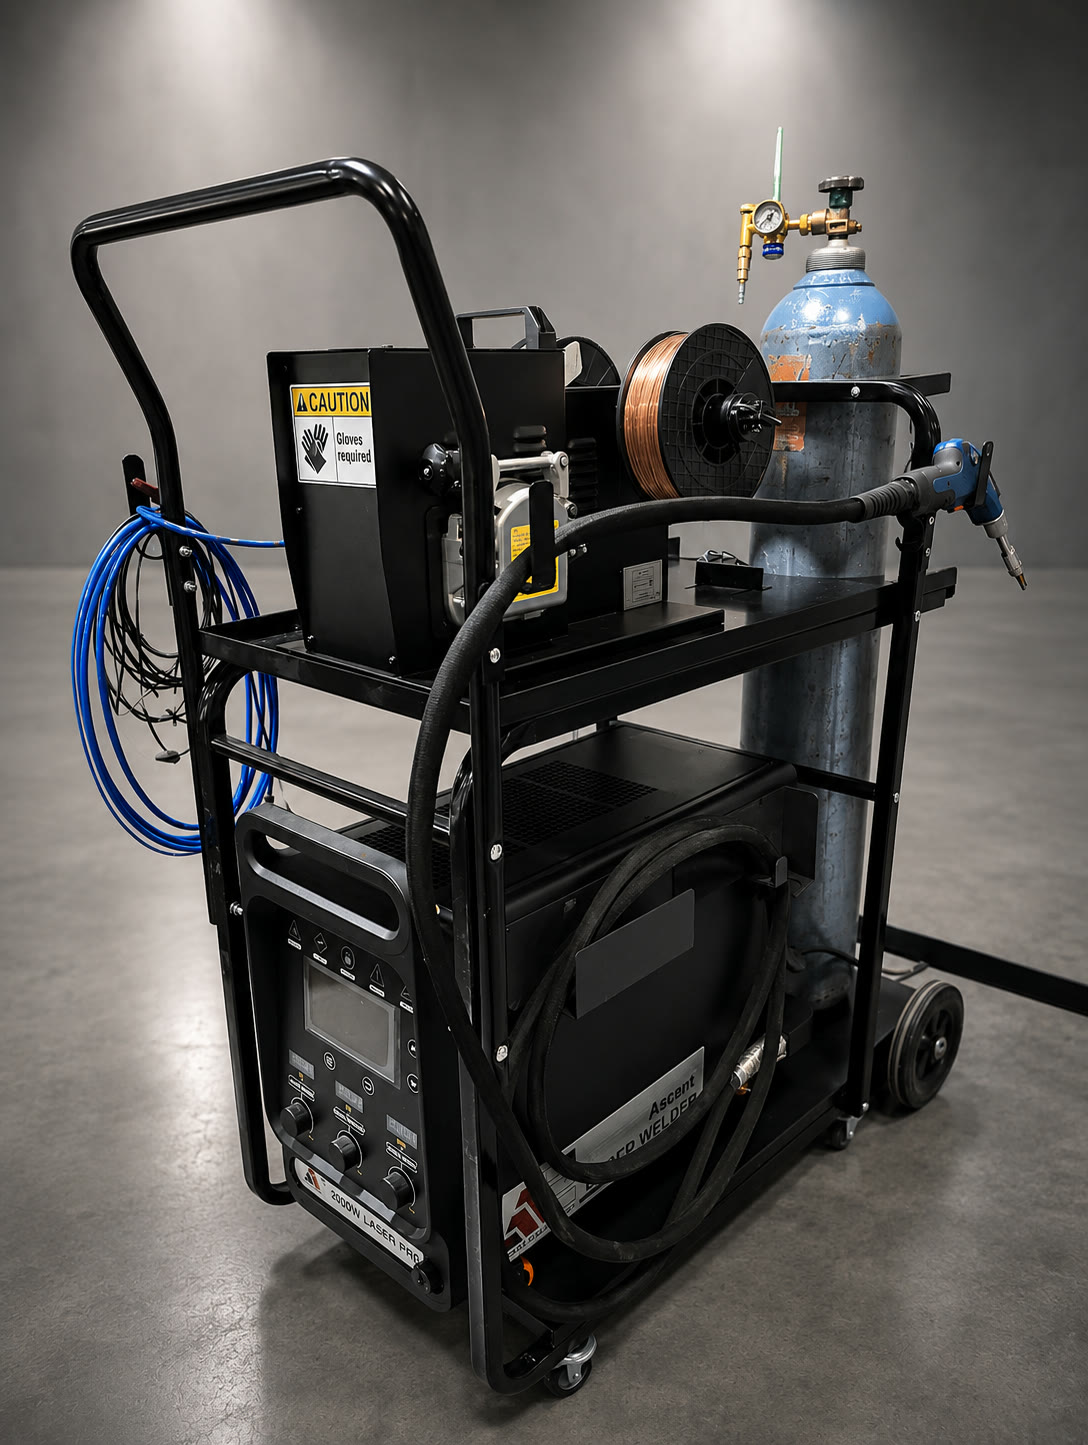
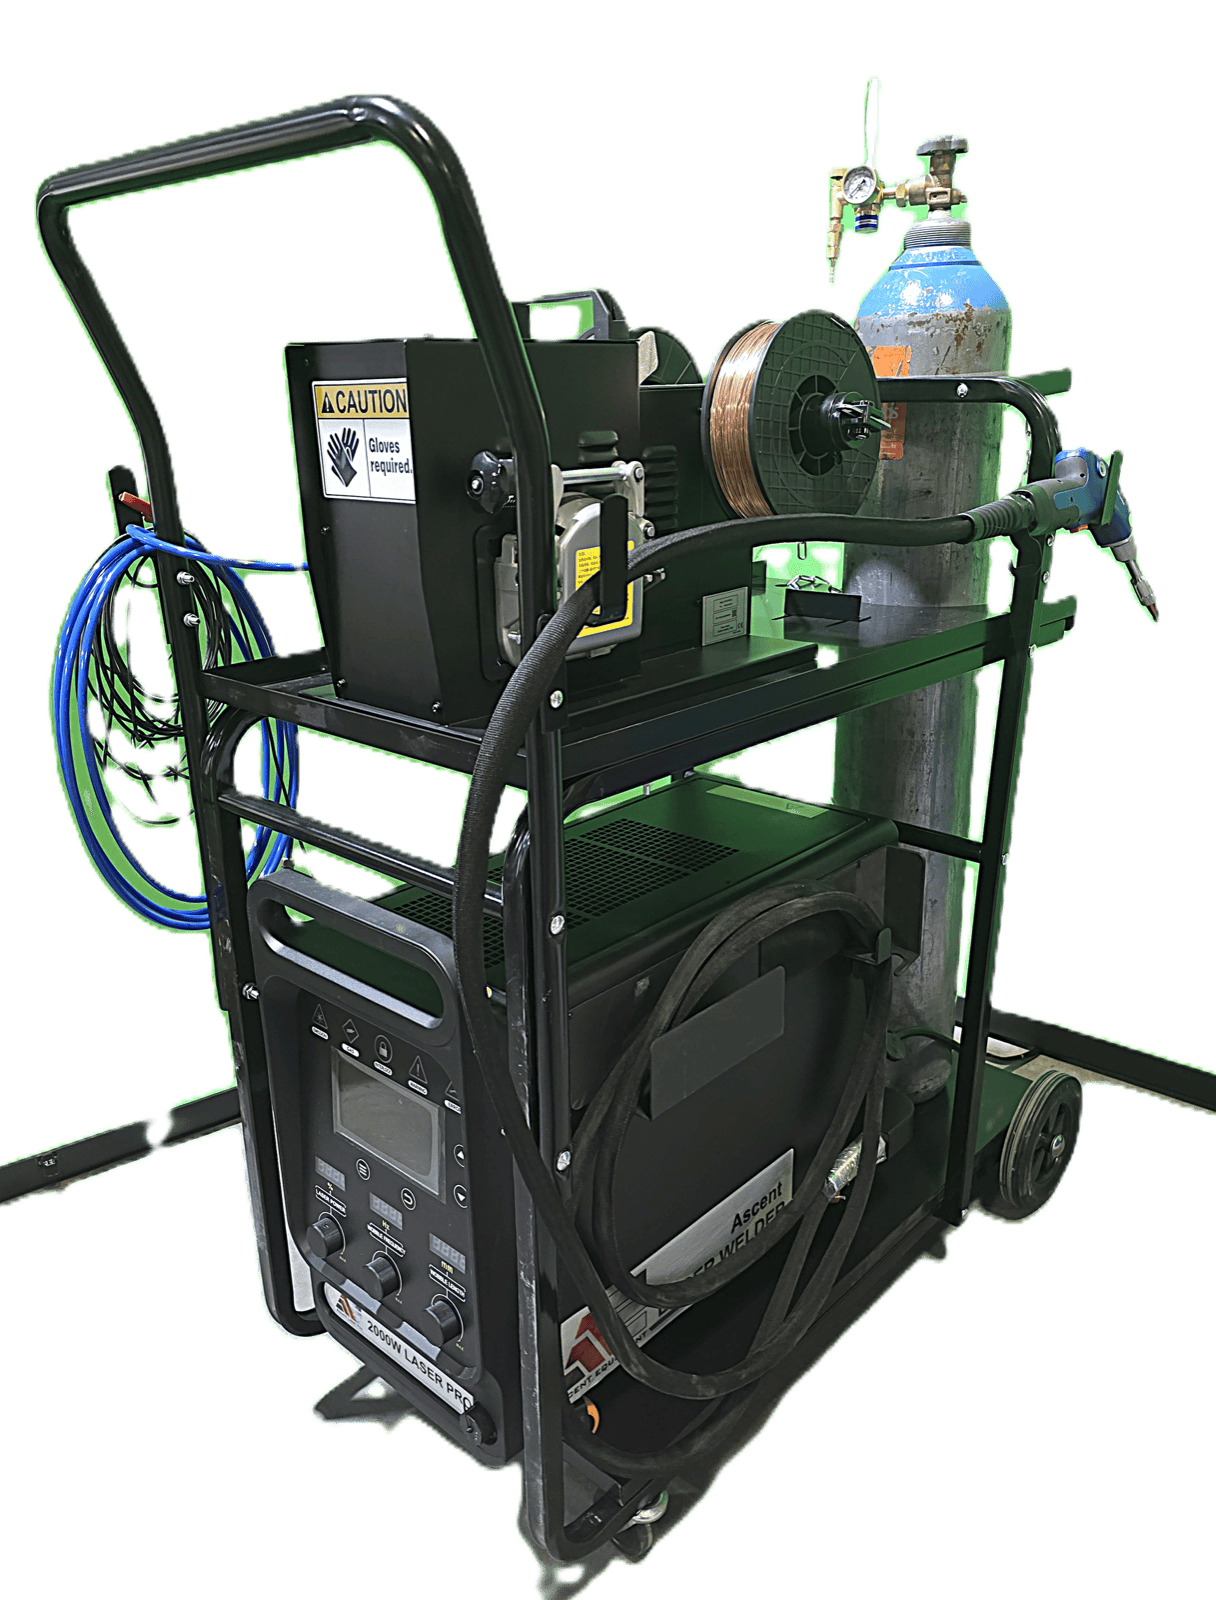
The argon cylinder (for shielding gas) mounts in a holder on the cart, with the regulator and line running right to the machine, not the floor. Strap it in properly so it doesn’t roll or get knocked.
Water cooling lines can’t kink—they need slack to let the welding head move around the whole table easily.
Pro tip: place the cart on your non-dominant side. If you’re right-handed, keep it on the left so the welding cable feeds from there. No awkward reaching across your body.
Step 6: Keep Fixtures Nearby—Not Across the Room
The number one issue is always, "Where are the clamps?" If they’re not right at the table, you won’t use them as often as you should.
So, keep this stuff right on the table (or a small cart next to it):
- Copper backing bars, different widths, stacked in a tray
- Magnetic clamps—several strengths for steel/stainless jobs
- Toggle clamps (for non-magnetic aluminum)
- Locking pliers for those awkward parts you can’t fixture
- Graphite felt pads, a stack of pre-cuts
- V-blocks or angle iron for odd-shaped parts
- A small deburring tool for prepping edges
Within quick reach (just off the table):
- OD5+ laser safety glasses—one for you, two for guests. Hang them at the entry curtain. No searching.
- First aid kit, mounted on the wall inside or just outside the zone.
- Laminated emergency instructions with contact numbers.
Step 7: Stick to a Daily Startup Checklist
A good setup only lasts if you actually keep it up. Post a ten-point checklist at the station—run through it before shift one starts welding.
Here's what to check:
- Are laser safety glasses right at the entrance?
- Is the lens on the welder clean?
- Coolant level (and is it clean)?
- Shielding gas pressure, valve open?
- Is the fume extractor on and correctly positioned?
- Cables/hoses neat with no floor hazards?
- Safety curtains in place, zone marked?
- Copper bar and graphite felt pads on the table?
- Test laser proximity sensor—head away from metal, doesn’t fire?
- First aid and emergency contact visible?
Ten checks, less than a minute. Do it every shift—makes everything smoother and much safer.
If you get your workstation dialed in before you ever strike that first weld, you’re saving yourself (or your crew) years of headaches. If your shop has some weird layout, or you want a hand with a custom setup for your Ascent welder, reach out—Carlos or Mike here can talk it through and help you figure it out.
—Dov "Dave" Rom, Ascent Equipment