
Laser Welder Fit-Up and Gap Control
A gap between two parts being laser welded is not a minor annoyance — it is a beam transmission path. If the laser beam reaches a gap in the joint, it does not stop. It continues traveling through the air on the far side of the workpiece, at reduced but still dangerous intensity, until it hits something. If that something is the operator's hand, a bystander, or a reflective surface at the wrong angle, the result can be a serious injury.
This is why fit-up in laser welding is treated as a safety requirement, not just a quality requirement. The two are inseparable: a gap that produces a bad weld is the same gap that creates the hazard.
Why the Beam Does Not Stop at a Gap
A focused fiber laser at 1070nm has a power density at the focal point of several million watts per square centimeter. At the workpiece surface, the beam couples into the metal, melts it, and fuses the joint. This process absorbs the energy. When the beam hits a gap instead of metal, there is nothing to absorb it. The beam passes through the gap, diverges as it continues past the focal point, and continues traveling.
Ten millimeters past the gap, the beam has diverged but still carries the full 1000W or 2000W of the laser source — spread over a larger area, but far above the threshold for skin burns and eye injury. Fifty millimeters past the gap, it has diverged further but remains dangerous. At typical working distances — the gap between a part and the hand holding the far side — the energy is still enough to cause immediate, serious harm.
The gap does not need to be large. A 0.5mm gap is wide enough for the beam to pass through on thin aluminum.
What Proper Fit-Up Looks Like
Laser welding requires significantly tighter fit-up than MIG or TIG welding. The standard is:
Gap = zero to 10% of material thickness.
On 0.063" (1.6mm) aluminum, that means a maximum gap of 0.006" (0.16mm) — essentially metal-to-metal contact. On 0.125" (3.2mm) material, the maximum gap is 0.012" (0.3mm). These are tight tolerances that require deliberate joint preparation.
MIG welding can bridge gaps of 1–3mm with filler wire. TIG can bridge gaps with rod manipulation. Laser welding without filler cannot bridge gaps — the beam passes through them rather than spanning them. This is a fundamental characteristic of the process, not a limitation that experience overcomes.
Joint Types and Their Gap Behavior
Different joint geometries have different gap risks:
Butt joint: The most gap-sensitive configuration. Two flat edges meeting require both edges to be straight and burr-free. Any bow, twist, or rough cut edge creates a gap somewhere along the seam. The beam transmission path on a butt joint goes straight through the gap and directly toward whatever is behind the workpiece.
Lap joint: More forgiving. The upper sheet overlaps the lower sheet, and the beam welds into the top surface of the lower piece at the overlap line. A gap between the two sheets at the lap reduces weld quality but the lower sheet still partially blocks the beam transmission path. Lap joints are inherently safer than butt joints for this reason.
T-joint and corner joint: The vertical piece naturally blocks much of the transmission path. Gap sensitivity is moderate — a gap reduces penetration and fusion but the geometry limits how far a transmitted beam travels before hitting material.
Inside corner (channel letter return to back panel): The geometry puts the backing panel directly in the beam path. Gap at the toe of the weld is the critical point. Keep the return pressed firmly against the back panel before welding.
Achieving Proper Fit-Up
Deburr all cut edges. A laser cut or shear cut edge has a small burr on the exit side. That burr creates a standoff that holds the parts apart. Deburring with a file or deburring tool takes 10 seconds per edge and eliminates the most common source of gaps on thin aluminum.
Straighten material before cutting. Coil-fed aluminum has a curl memory from the coil. A curved piece cannot make flat contact with a straight piece. Run material through a straightener or flatten it before cutting parts that will be butt-joined.
Clamp before welding — always. Do not rely on hand pressure to hold parts in contact while welding. One hand controls the welding head; the other cannot simultaneously maintain consistent clamping force along the full length of the joint. Parts drift apart as welding proceeds and the clamp force ahead of the torch relaxes.
Tack weld first. Before running the full seam, tack at intervals of 25–50mm. Tacks lock the joint geometry. Run the full seam after tacking, and the parts cannot drift open ahead of the torch.
Check fit before welding, not after. Hold the assembled joint up to a light source. If light passes through, the fit is not acceptable. Fix it before welding.
Fixturing: Stop Holding Parts by Hand
The instinct to hold a small part by hand while welding is carried over from MIG and TIG habits. With laser welding, it creates two problems simultaneously: it puts a hand in the beam transmission path, and it produces inconsistent clamping force along the joint that allows gaps to open and close as welding proceeds.
The solution is fixturing — any mechanical means of holding both parts in position without a hand.
Magnetic clamps work on steel and stainless steel. A series of small magnets along the joint holds butt joints and T-joints in position with consistent force. Magnetic clamps are fast to set up and reposition.
Toggle clamps work on any material and produce consistent, repeatable clamping force. They take longer to set up than magnets but are the right choice for production runs of the same part.
Vises and angle plates for small parts. A bench vise or machinist's vise positions small parts rigidly. An angle plate sets up T-joints and corner joints at exact 90°.
Purpose-built jigs for repetitive production. A simple jig — two fences at the right spacing with clamps or magnets — reduces setup time to seconds on parts made in quantity. The investment in a jig pays back within the first production run.
Spring clamps and locking pliers for parts that cannot be fixtured any other way. At minimum, hold parts with pliers rather than bare fingers, and position hands to the side of the joint rather than behind it.
The Backing Bar: The Double-Duty Solution
A copper backing bar behind the joint solves two problems at once.
First, it blocks any beam that passes through a gap. Copper reflects approximately 98% of 1070nm fiber laser energy rather than absorbing it. A gap that allows the beam through sends it into the copper surface, where it reflects at an angle away from the operator rather than continuing in a straight line through the workpiece. Even for joints with perfect fit-up, a copper backing bar provides defense in depth.
Second, copper acts as a heat sink behind the joint. On thin aluminum, this prevents burn-through on the back side of the weld and produces a cleaner root surface. The copper does not fuse to aluminum — it can be placed, used, and removed without sticking.
For production work, a copper backing bar clamped behind every joint should be standard practice, not an optional precaution.
When a Gap Cannot Be Eliminated
On some assemblies — warped material, complex geometry, or parts that have moved during handling — a small gap is unavoidable. The options in order of preference:
-
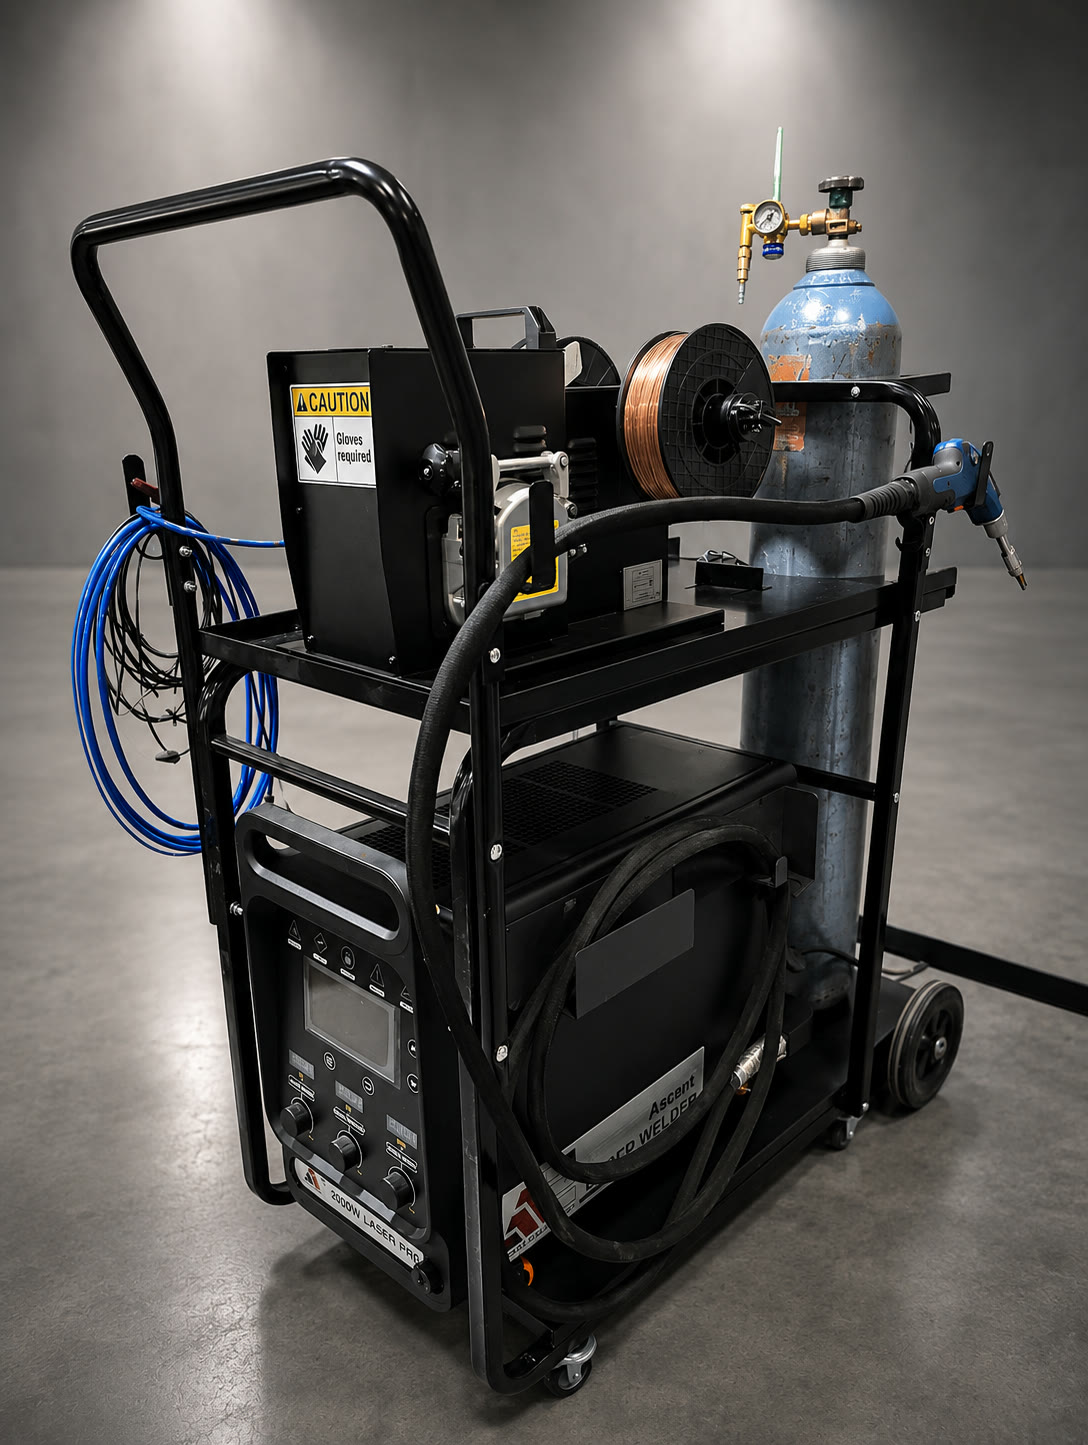
Add filler wire. The Ascent handheld laser welder and 2000W refrigeration welder support wire feed. Adding filler allows bridging gaps up to approximately 20% of material thickness. This does not eliminate the beam transmission risk, but it restores weld quality.
-
Increase clamping. Add a clamp directly adjacent to the gap location. Clamping closer to the gap forces the parts together more effectively than a clamp set further away.
-
Tack and force. Tack one side of the gap, then mechanically force the gap closed before tacking the other side. The tack on the first side holds the geometry while the second side is pulled in.
-
If none of the above works: Do not weld the gap. Remove the part, correct the fit-up, and start over. A gap that cannot be closed is a gap that will transmit the beam. No weld quality or productivity consideration justifies that.
Body Positioning When Gaps Are Present
Even with all precautions, a gap can appear unexpectedly mid-weld as clamping relaxes or material distorts from heat. Operators should develop the habit of never placing any part of their body in the beam transmission axis — the imaginary line the beam would follow if it passed through the joint.
For a butt joint welded flat on a table, that axis is straight down through the table surface. Hands stay to the side.
For a vertical joint (two pieces standing up, welding the seam between them), the transmission axis is horizontal and perpendicular to the weld direction. Hands and body stay out of that plane.
Before starting any weld, ask: if this beam passes straight through, where does it go? Position accordingly.
The Ascent QCW tabletop laser welder and handheld laser welders include proximity sensors that cut laser power when the head loses contact with metal — a secondary control for gap detection. If you have questions about safe operating procedures for your specific setup, contact us and we will walk through it with you.